ESP32-CAM ride-along crash course

I've read about these for a long time and finally picked up some to tinker with. It's a next-gen 8266 with a camera, so how hard can this be?
The first thing I notice is that I bought boards with no onboard UART, meaning that powering the board and setting up serial connection for flashing is not as simple as plugging in a USB cable. I probably did this on purpose, thinking that eventually I would want to power them like a grown-up (more efficiently), but it does make development a little more awkward.
So I go in the garage and steal a CP2102 USB-to-TTL serial converter from a GPS that I had been playing with, thinking that this will solve both my problems.
Shameless
I will look for, and take advice, from any variety of sources. ( There are obviously no instructions provided with these ) In situations like this where I know that I have a very specific product, I look right back where I bought it:
That incredibly well written set of instructions boils down to:
- make sure you're providing adequate power - at least half of all problems are due to this
- you only need to connect the camera and power up to confirm that the device is functional
Power Struggles
Let me be super clear, you should NOT do this, but it 'works' ( keep reading )
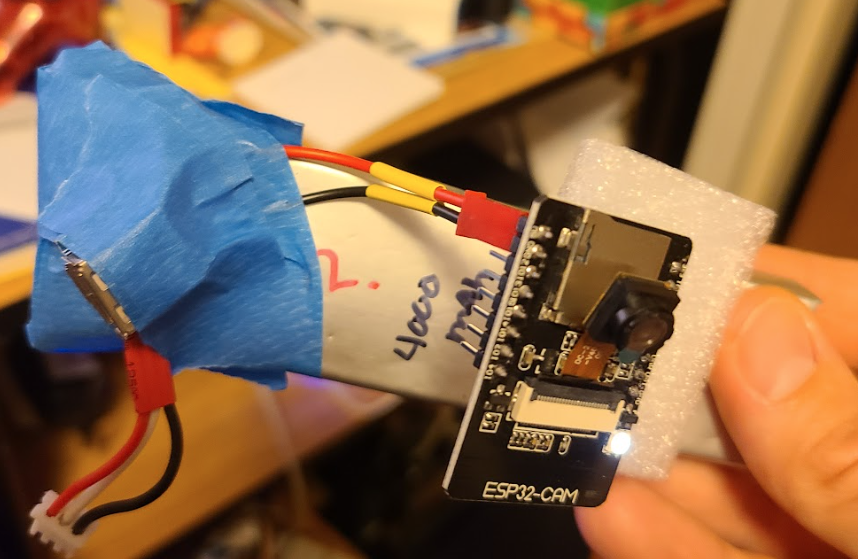
Powered up ( the light tho )
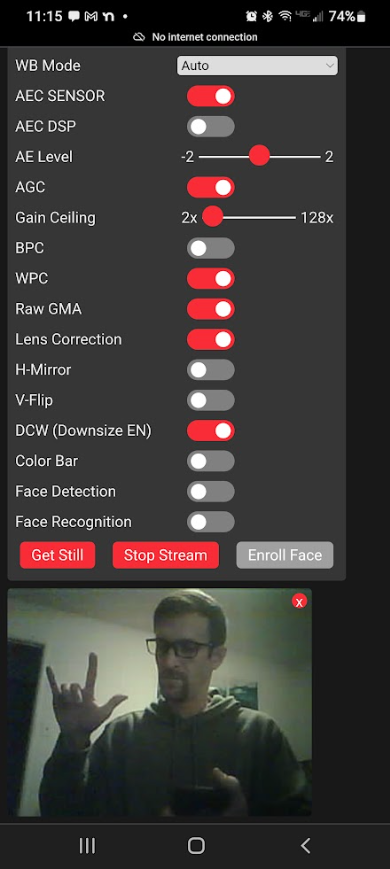
Wifi network showed up "ESP32-CAM ...", a wifi AP with no authentication. Connect to it.
Go to 192.168.4.1 - this is the little factory application showing the video stream :)
Factory Firmware
Beyond the Factory Firmware
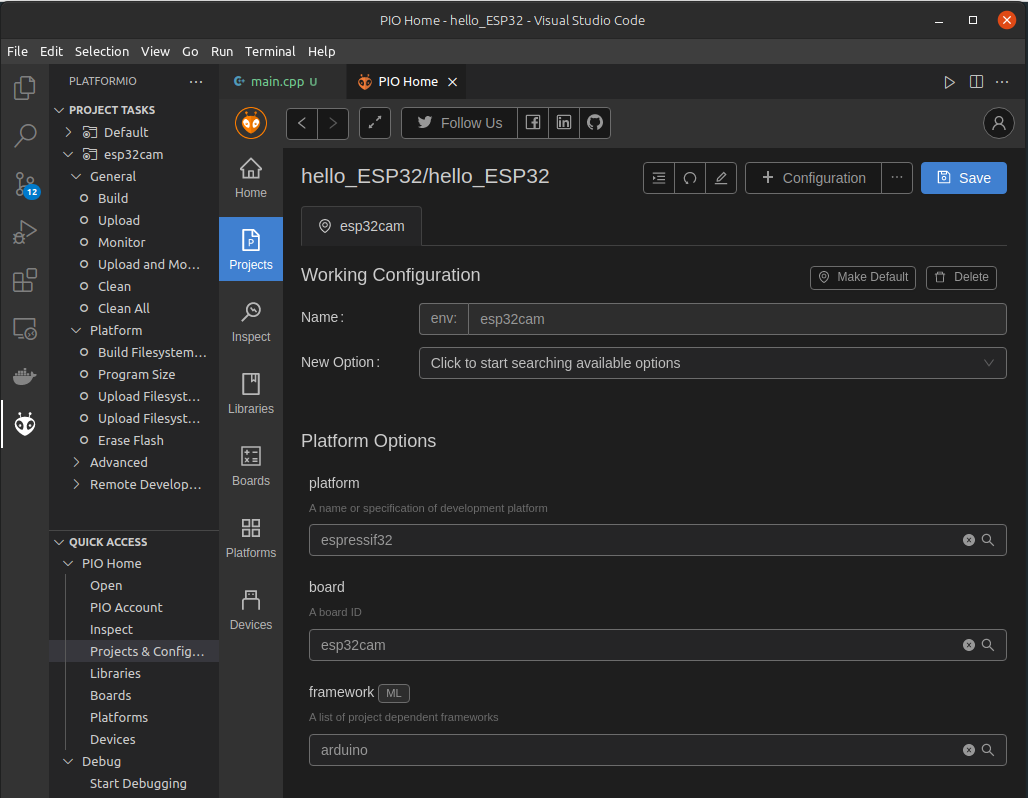
I bought a 2-pack, so let's see if we can flash custom firmware onto one of them! ( or brick it in the process ) Eventually I want to be able to fully integrate with both the software and hardware sides.
I setup a new PlatformIO project in VSCode, an incredible combination I discovered only recently:
There are tons of inspirational projects out there demonstrating all the moving parts of the webserver and camera working together.
 easytarget
Flashing
just trying to do a basic web server, let alone anything with the camera...
stuck on flashing, the first roadblock
Auto-detected: /dev/ttyUSB0
Uploading .pio/build/esp32cam/firmware.bin
esptool.py v3.1
Serial port /dev/ttyUSB0
Connecting......................................_____
A fatal error occurred: Failed to connect to ESP32: Timed out waiting for packet header
*** [upload] Error 2
============= [FAILED] Took 26.31 seconds =============
The terminal process "platformio 'run', '--target', 'upload'" terminated with exit code: 1.
Is this a supply voltage issue? YES
FLASHING REQUIRES EVEN MORE POWER THAN OPERATION
Once I flipped the CP2102 to 5v mode and used the power from there ( rather than Lipo voltage - stupid in retrospect ) it flashes!
<VALID FLASH OUTPUT>
You DO have to to have GPIO0 an GND tied together ( GPIO0 'pulled low' ) to enter programming mode. After flashing remove this jumper and reset / power cycle to boot back to the code mode
I spent a lot of time messing around with the RESET button, which I finally found on the back. Apparently this is a popular pasttime while struggling with this. However in the end I didn't need to do anything 'tricky' with RESET to get esptool to flash once the CP2102 was fully wired up. Let me clarify that:
- Connect GPIO0 to GND
- Hit RESET button
- Build > Upload ( nothing tricky here )
- Disconnect GPIO0
- Hit RESET button
- You're off and running
it flashes...
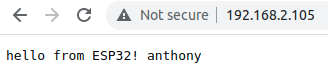
Basic Web Server
serial output shows
.....
Connected to cholenet
IP address: 192.168.2.105
Now How to integrate the camera?
Obviously I want to serve the camera, starting with stills. Lets see..
taking an image from the camera buffer and serving it, async webserver. Several options here include saving stills on an interval to SPIFFS, or grabbing one on-the-fly from the camera buffer.
me-no-devAnd this is seriously the first image served:
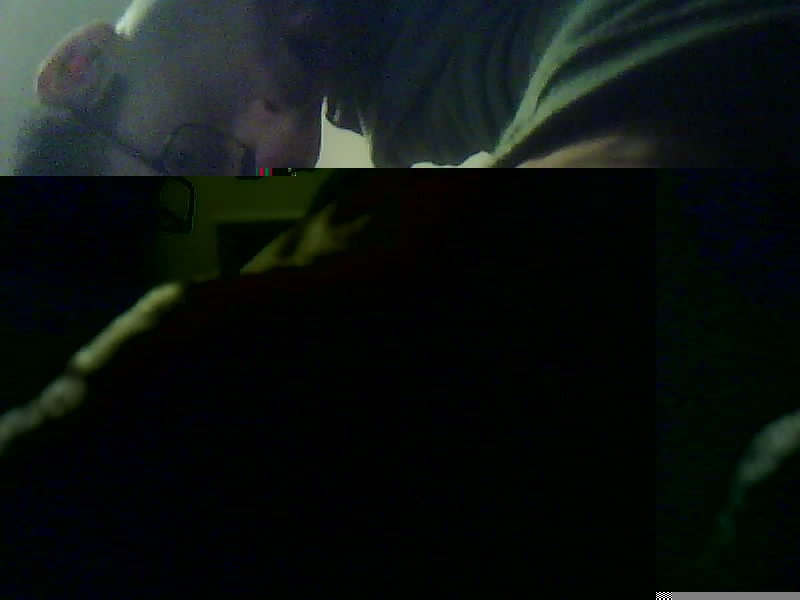
so whats up there
This legit took about 4 hours of tinkering up to this point, so no illusions about how fast this is
- figuring out how to flash a device is always a time sink. Take notes and draw pictures to help yourself in the future
- putting a switch between GPIO and GND would make the whole 'booting-into-flashing' mode routine more convenient, but really... OTA updates?
Bootstrapped streaming
Well... It won't be 'streaming' but at least the server can provide a frame from the buffer like this. (credit where credit is due )
    server.on("/picture", HTTP_GET, [](AsyncWebServerRequest * request) {
        camera_fb_t * frame = NULL;
        frame = esp_camera_fb_get();
        request->send_P(200, "image/jpeg", (const uint8_t *)frame->buf, frame->len);
        esp_camera_fb_return(frame);
    });
This is supposed to be 'borrowing' a frame from the buffer - I notice that it struggles to serve complete frames when multiple clients connect. It would probably make more sense to store a 'key frame' from the camera buffer every so often and serve all clients from that file.
Then I called up my good friend SPIFFS and they helped me host this HTML page with a Javascript setInterval() to keep requesting new frame and updating the image src attribute.
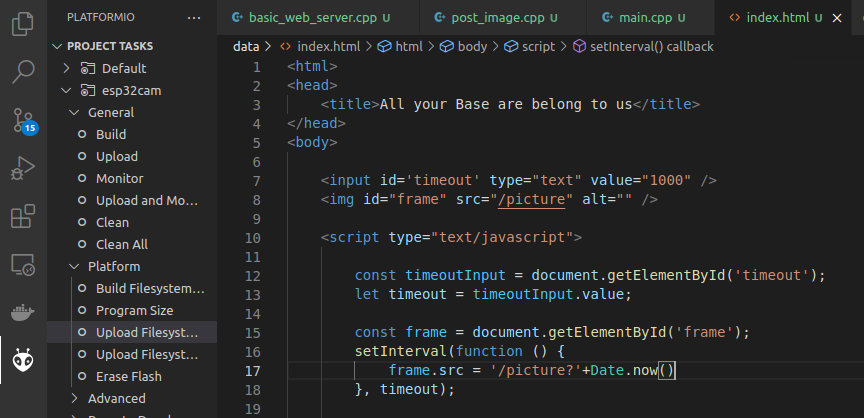
I wish I had a gif here of my "1 fps" video stream, but it would be pretty lame anyway.
Conclusion
This is exactly what it is billed as: everything I'm familiar with from the ESP8266 - with a decent camera hooked up. I'll admit I haven't even pulled the protective plastic off the lens yet, but image quality isn't the real point here.

I'm excited to try to integrate with some cloud-hosted computer vision stuff.