My First 3D Prints

When I first completed building my 3D printer I was ready to lean face-first into the learning curve. I quickly jotted down this list for myself which I thought would represent incremental challenges in 3D printing.
From the most basic to the point where I'm currently stuck, here is how it's going:
3D Printing Challenge List
The Printer's Own Test File
I'll admit I just skipped this one. I don't think it was a Benchy, but I wanted to jump ahead to...
A Print from a Thingiverse Download
Thingiverse is the most active open-source platform for sharing 3D printing files. I really didn't know where to start considering the overwhelming number of choices.
I realized that 3D printing goes meta right from the beginning - most people print 'upgrades' for their printers. I found that it was easy to find models for my specific printer, the Creality Ender 3. I downloaded a filament guide arm and a handle for manually turning the z-axis during print prep.
Note: Keep your STL downloads and files containing their slicing settings organized together. This will make it easier when coming back and iterating.
Model Something Yourself - Print Any Scale
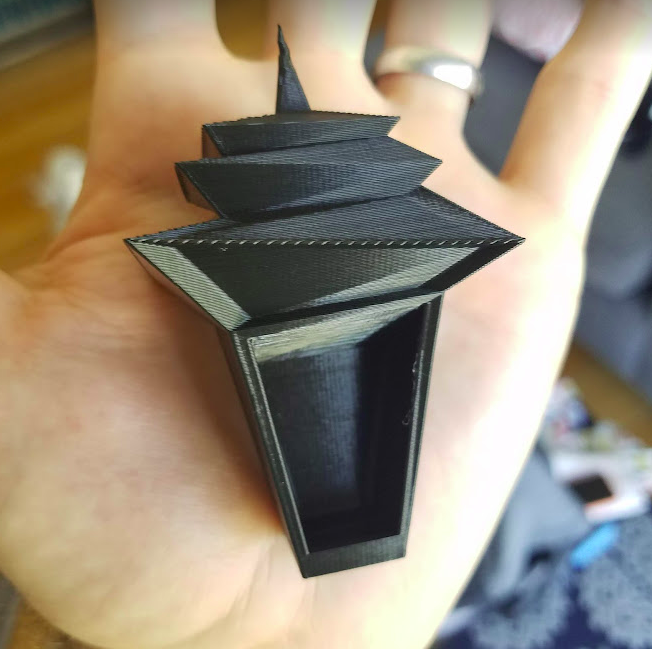
I fired up Blender and woof, it had been a long time. After asking the internet how to setup middle-mouse-button drag in Ubuntu I finally started making that stupid default cube into something interesting. I did a lot of extrusions to produce overhangs and sharp corners to see how exact they would print.
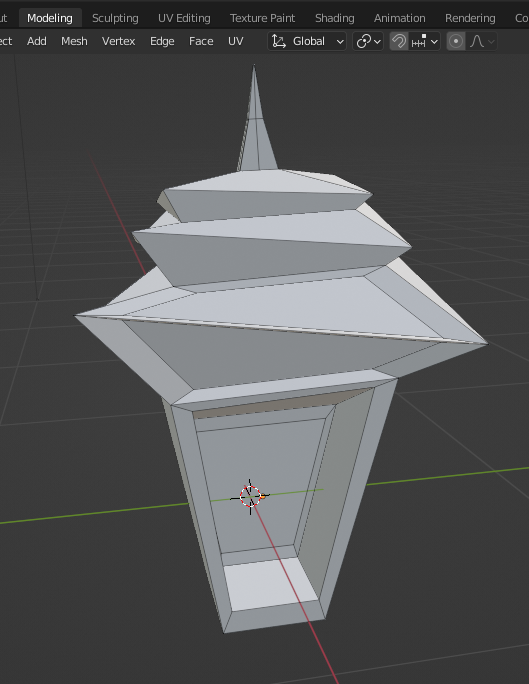
It came out looking like an expressionist gas lantern. I arbitrarily scaled this down during slicing as there were no real target dimensions.
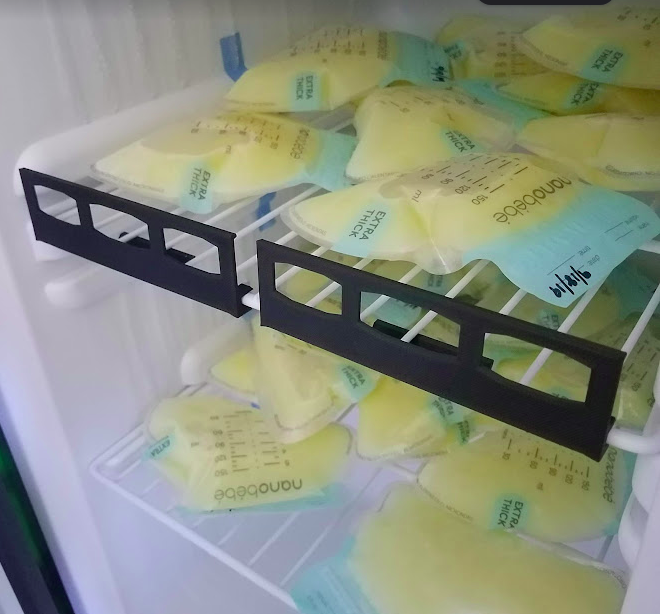
Model an object to interface with a real-world object
I thought a good standard to aim for was 'snap fit'. It seemed like PLA would have both the strength and flexibility for this kind of fit. I knew that I would need take initial measurements, and then model and print all while preserving those dimensions.
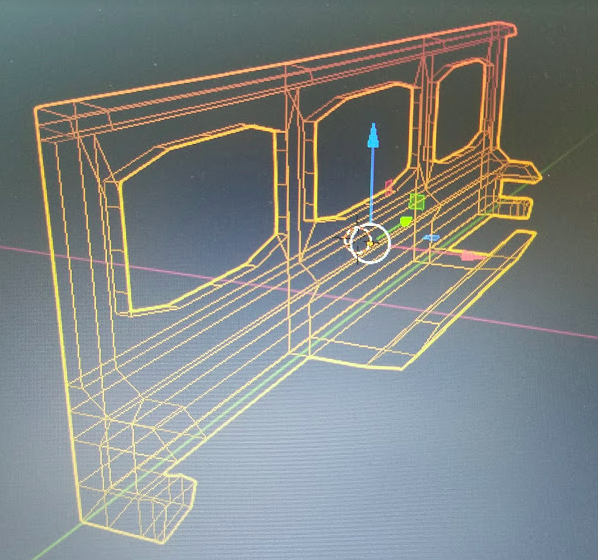
The opportunity presented itself when the shelves of a small freezer that I purchased needed some extra rails to contain all the bags of breast milk we were loading it with. I envisioned what a solution would look like and took some measurements.
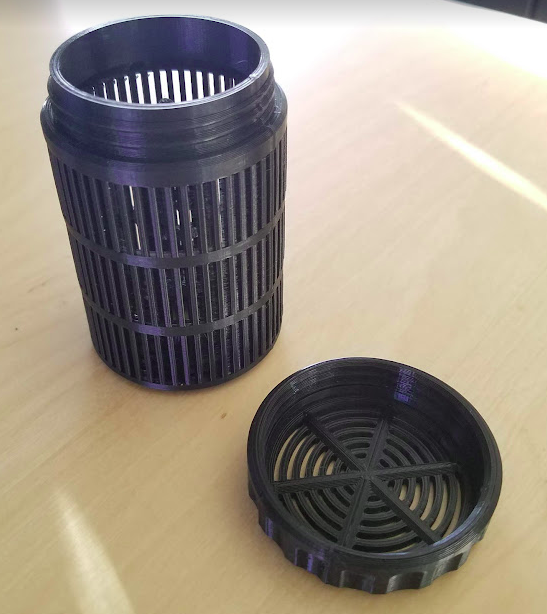
Multi-part Threaded Print
Without yet tackling how to model such a complex part, there are some excellent models on Thingiverse like this one I found for a desiccant holder. ( Some filament types need to be stored in oxygen-free environments, requiring the use of a desiccant like silica gel beads )
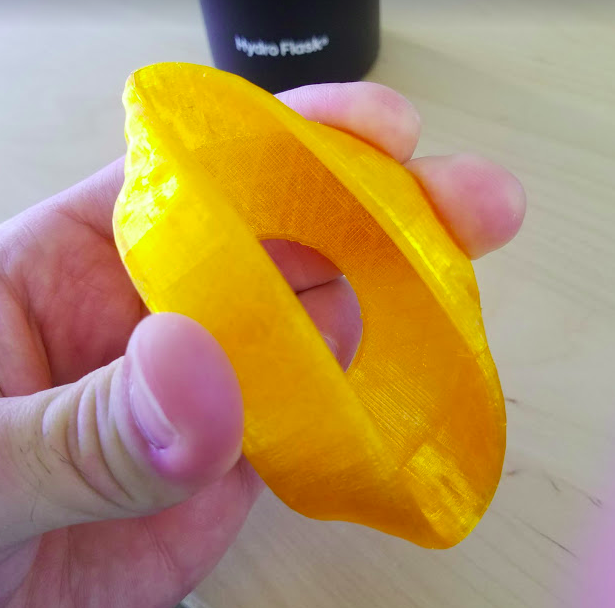
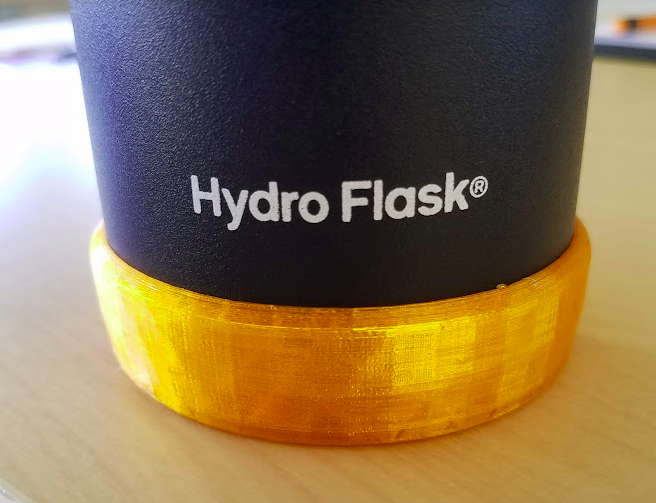
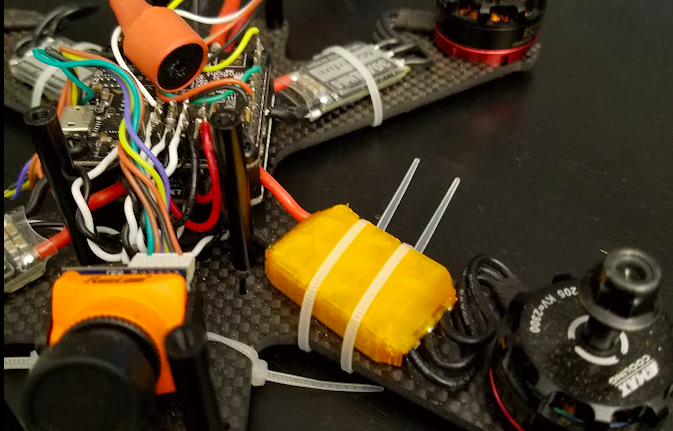
Model and Print With Flexible Material
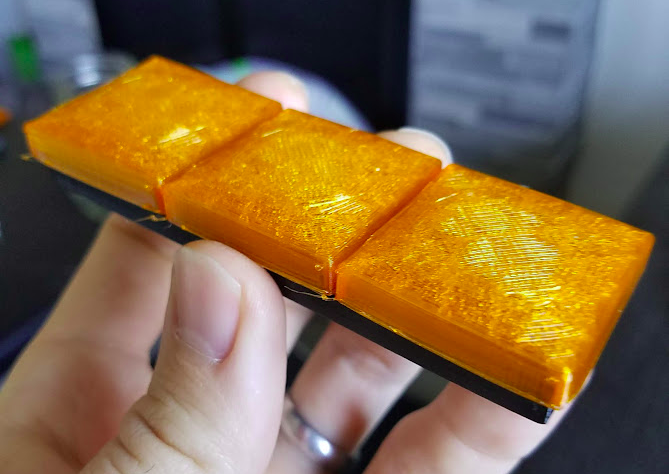
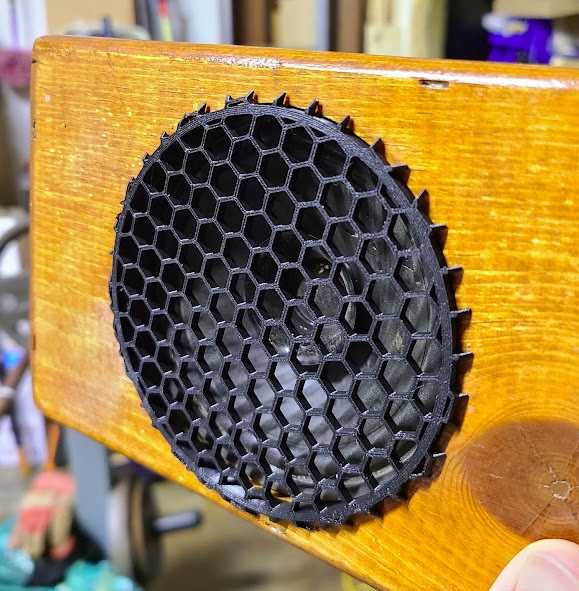
I love my HydroFlask and didn't want the bottom to get all dented and scratched. I thought this would be a good chance to try out a flexible filament to get more of a 'friction fit'.
I think this is when I learned to model with boolean operations, which is using multiple meshes in combination with each other to produce differences, intersections or unions. Imagine this model as a hockey puck, mosly hollowed out from the top and then with a hole punched through the middle.
Integrating PLA and PETG
I wanted to create some push buttons as inputs for various IoT / robotics projects. This one holds a 5mm tactile switch beneath each button, giving a nice click on each press. It was surprisingly difficult to engineer the action of the button when pressed, for example making it so that it didn't have to be pressed exactly in the center.
I even designed internal cable routing channels. I thought I was going to make a 3x3 button pad but the internal cable routing got too crazy.
Model Multi-part Threaded Objects
This is where my 3D modeling skills and boolean ops just could not produce a manifold geometry ( the slicer puked when trying to figure out what to do with my model. )
So yeah, I have yet to do this.
Getting Practical
My brain was now subconsciously searching for 3D-printing-shaped problems. I was ready to start solving all the problems in my life by 3D printing their solutions. The toothpaste-tube squeezer I made for my wife has so far been the biggest success if it's daily use is the deciding criteria.
It's interesting just exactly when 3D printing is the correct solution for a problem. There are a litany of reasons that can indicate that 3D printing is NOT the way to go when fabricating a particular part:
Making lots of 'copies' of the same thing?
Almost any manufacturing process is faster for mass-production than 3D printing. Injection molding is one of several processes which are faster when creating many duplicates.
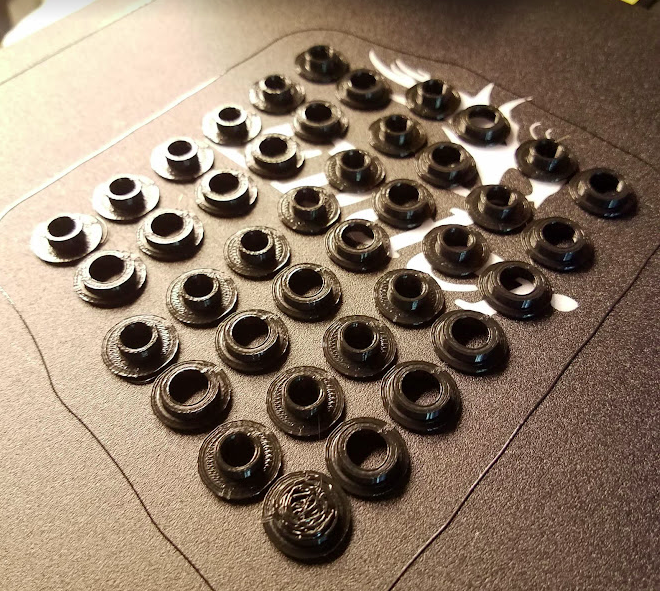
I printed some 2-part grommets ( again in the spirit of learning about snap-fitting ), but couldn't ignore how inefficient it seemed compared to how millions of these would be produced in a factory.
Some other examples of things I imagined designing but then abandoned were net cups for hydroponics and drip irrigation emitters/sprayers. These things are manufactured in the millions so it is hard to look at my efforts as being efficient.
Will the material meet the strength / heat requirements?
Apparently ABS filament will produce prints that can handle more force and impact before failing. I haven't had the opportunity to use it yet, but I can say that I have learned about the 'breaking point' of PLA. While wall thickness and infill can produce some seriously strong PLA prints, the material will eventually crack under stress.
Alternatively, I have found it hard to use 3D printing in my coffee roaster build because the materials would melt upwards of 200F, while the process of roasting coffee runs above 400F. This might seem like an extreme example, however temperatures nearing 200F can happen inside a closed car on a hot day. Friction can be another source of heat which can lead to deformation and eventual failure. Consider gears running fast or under a load generating heat.
Is the solution commercially available?
Let's say that the solution you're intending to model and print is commercially available through e-commerce. Let's say it costs $12.99. Should you stick it to the man and DIY?
Often times you should just buy the existing product unless you're changing the design in a necessary way. The process of taking measurements, designing, modeling, slicing, printing ( and possibly iterating back to, and forward from, any of those steps ) takes TIME. More time than you expect.
Your confidence that you will beat Amazon Prime is likely Planning Fallacy, however it will depend on your skills, model complexity, etc. Keep in mind that you almost always iterate.
Is There Any Other Way to Build This Thing?
3D printing will rarely be the fastest, cheapest or strongest means of creating a thing. Depending on your needs as a person / hobbyist / maker or artist there will be between zero a few uses for 3D printing. Being able to spot the ones that do exist is a skill.
The Perfect 3D Printing Project
There are some problems for which 3D printing is the perfect medium. I actually want to save that for a separate post.
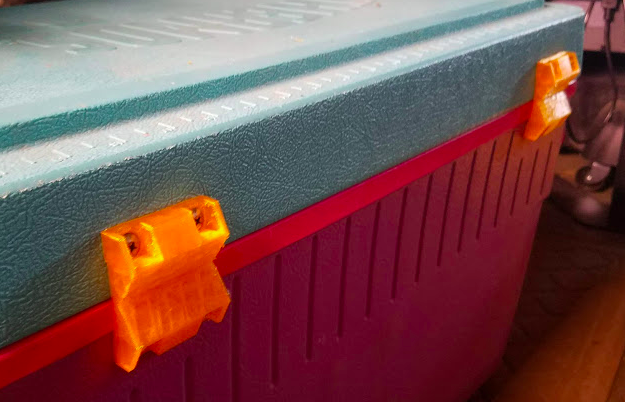
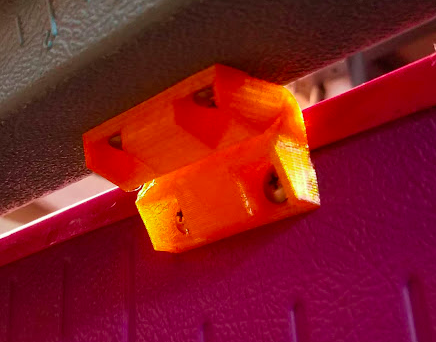
The project that really showed me the niche power of 3D printing was came in the form of a cooler that I have with busted hinges. They were originally "living" hinges which are notorious for getting brittle and failing. This obviously makes the cooler less useful. Every time you open it the lid flips off onto the ground...
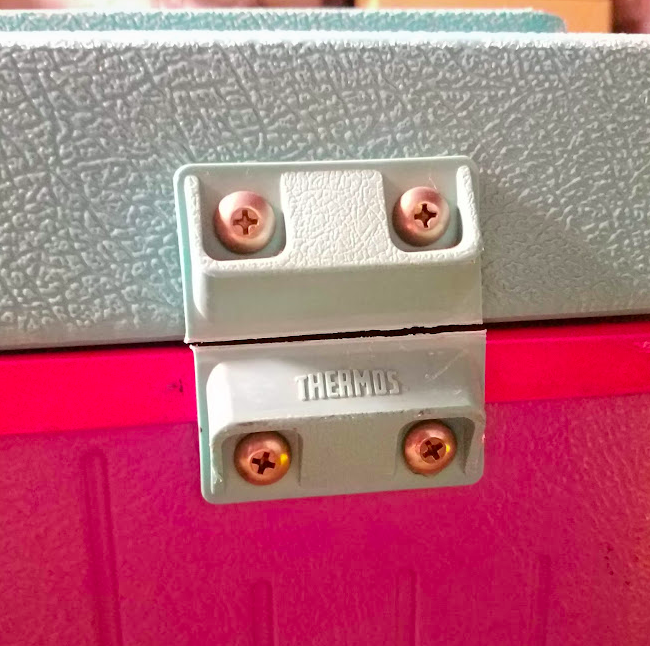
It turns out that replacement cooler hinges are available for other brands, but not Thermos. I had been looking around for exactly the right material to DIY a solution but found it really hard to find a material with the right combination of rigidity and flexibility. The closest thing I found was vinyl tubing - rarely available in large sizes and inherently curved.
So, is this.... the perfect 3D printing project?
- It is not commercially available
- the operating temperature range won't melt the print
- the part is a combination of a specific shape and specific material ( rigid & flexible )
- BONUS: avoids something that is otherwise still useful from becoming trash
Update: Feb 2022
I'm getting better all the time at spotting good 3D printing projects from the ones that would otherwise only be a curiosity / time-suck.
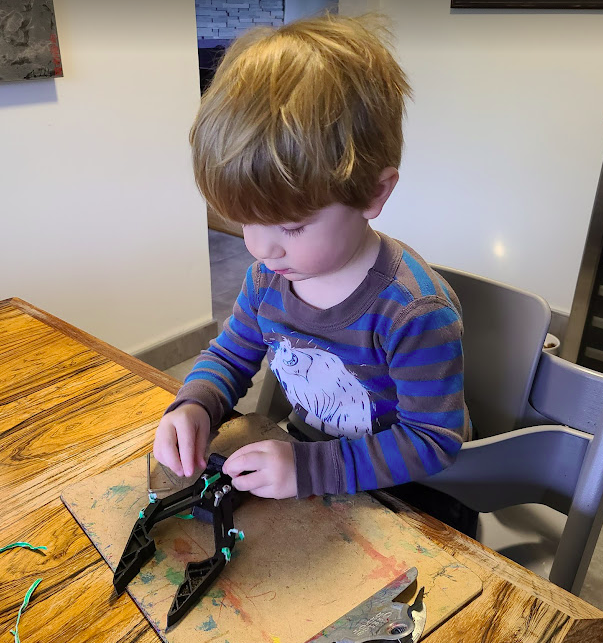
But frankly some of the most fun I've had is creating little erector-set-like parts for my son to play with. Recently we printed a robot gripper that has been an exciting project for him. He loves to watch the printer working and asks, "Did the 3D printer make anything for me last night?"