PRL: Integrated Test Fire #1

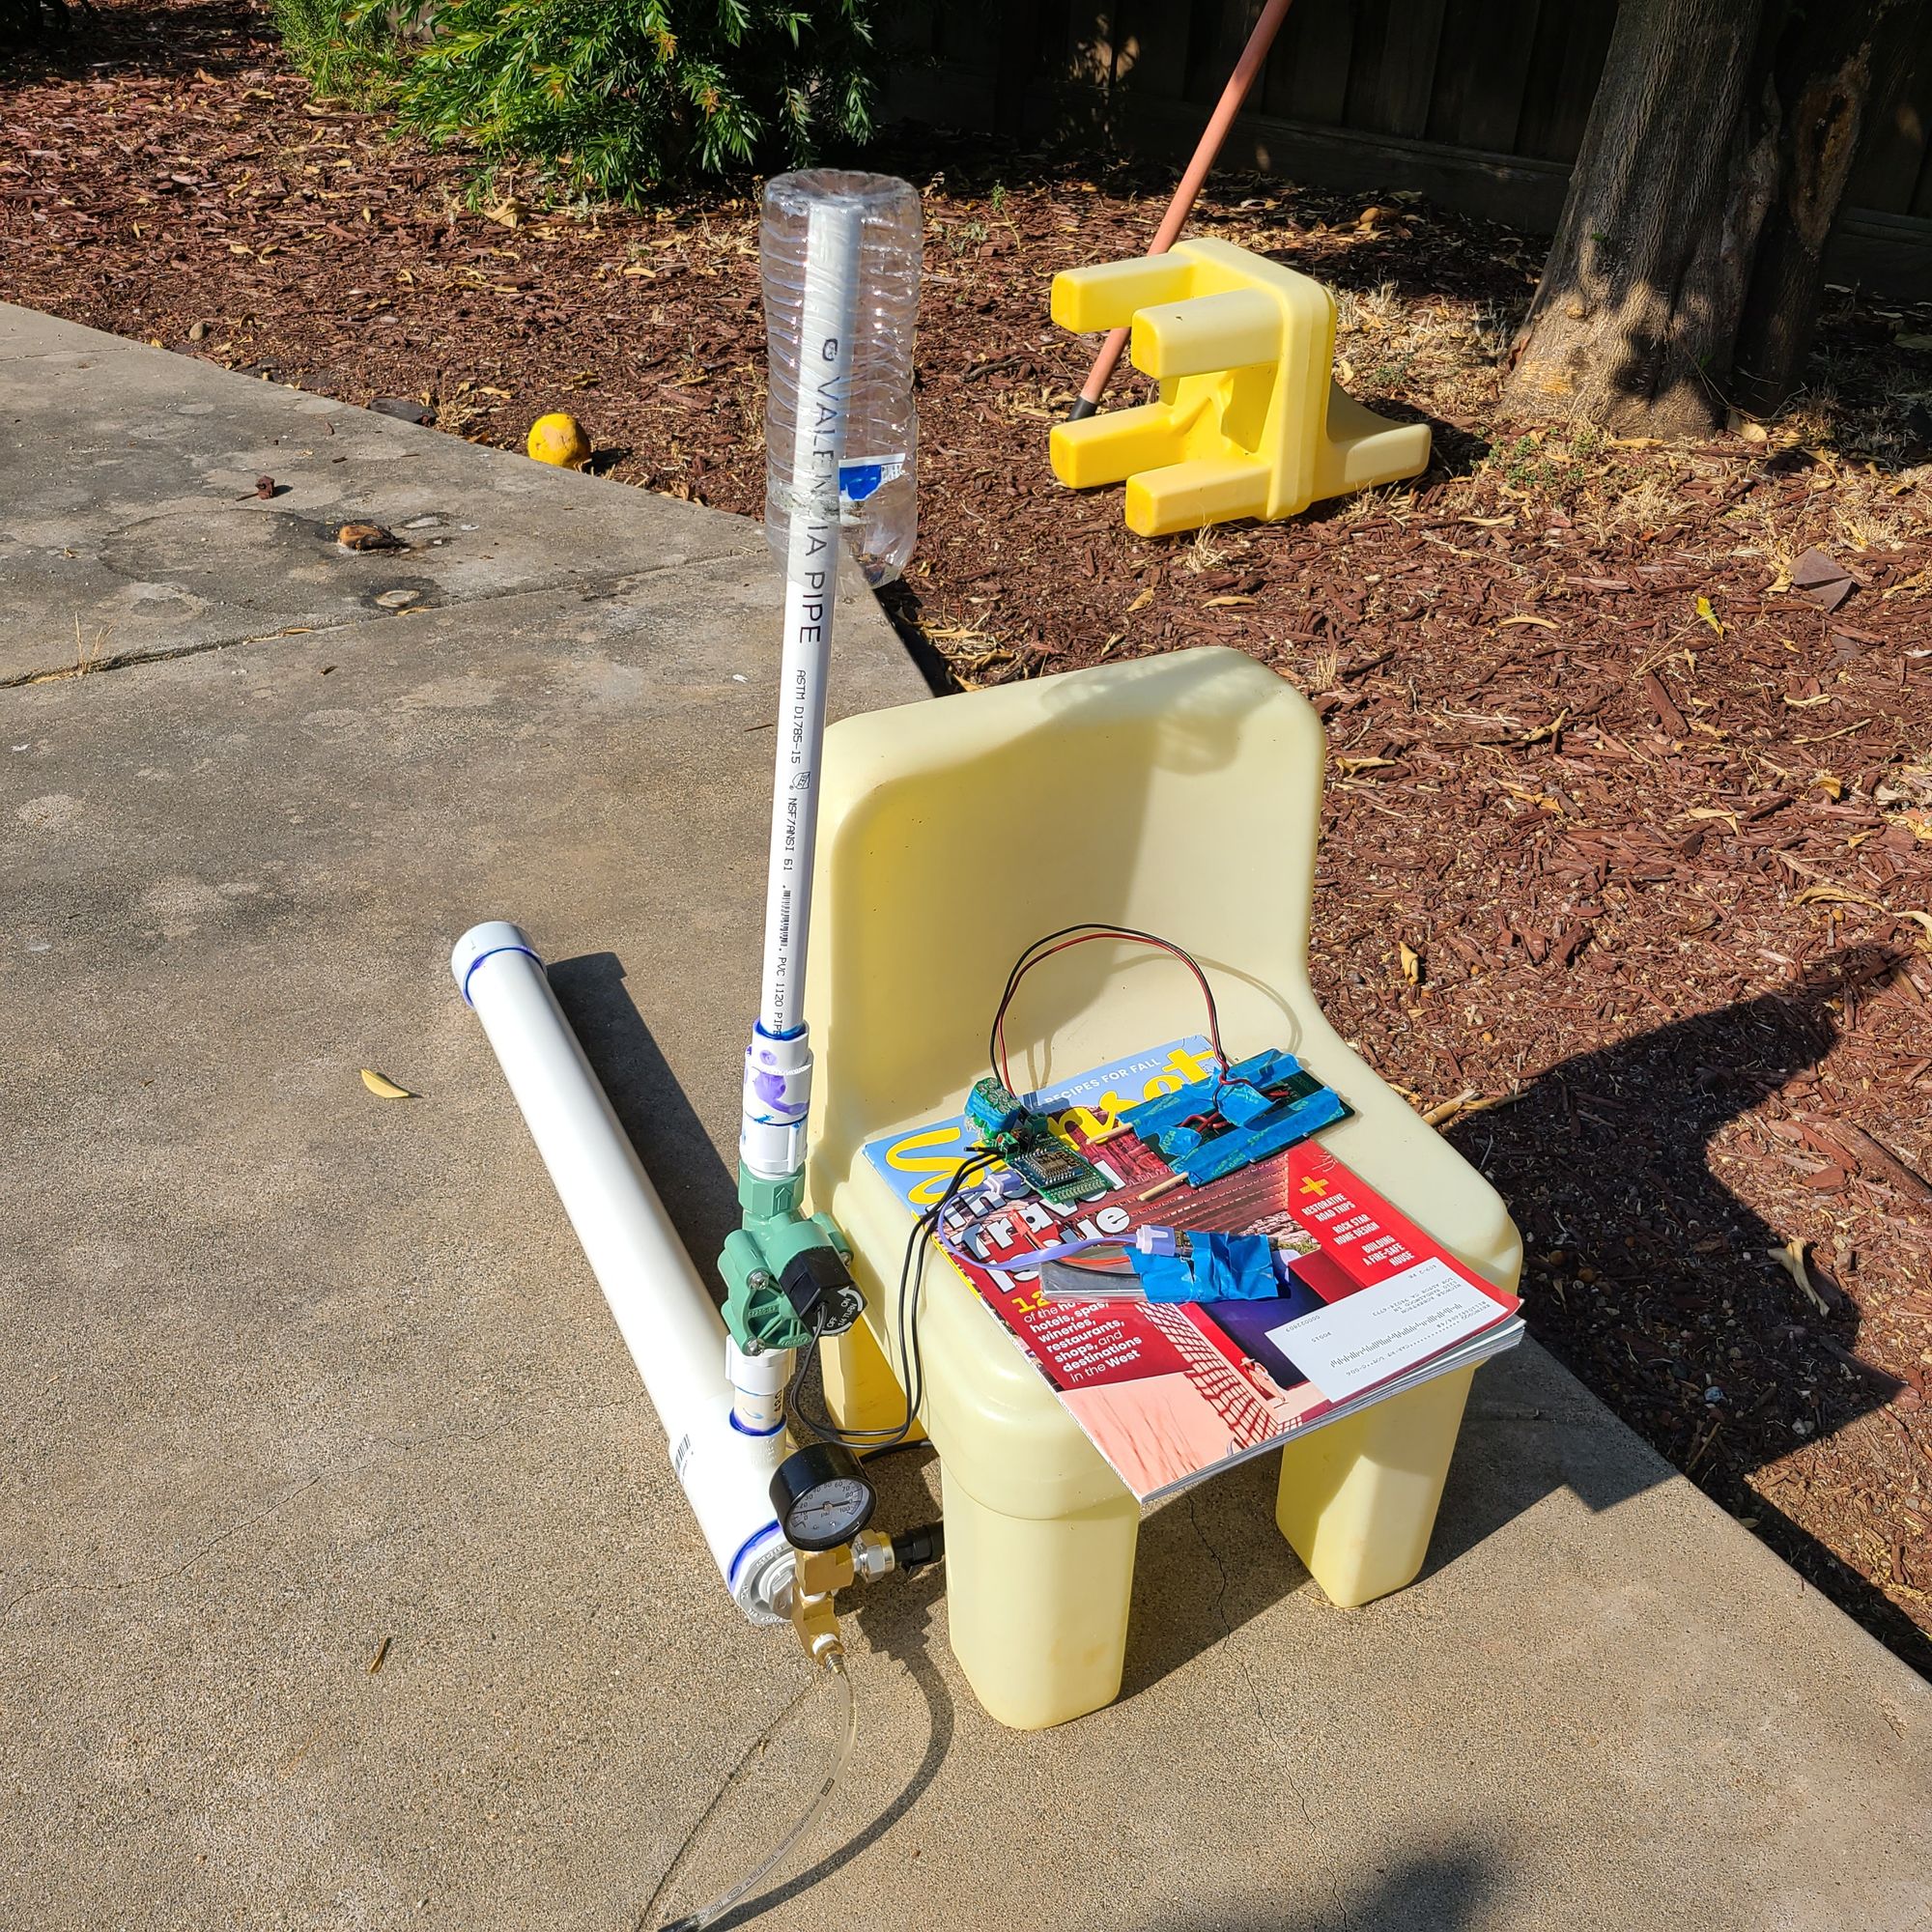
The hardware and software have come together, off the bench, for the first time!
Initial tests of the launcher were fully-manual, and then later tested with a 12V battery use to power opening the valve.
This test was the culmination of a lot of other things coming together and proved a few important things:
- The capacitor bank provides enough current for the solenoid to open even when the valve is under pressure. I don't know that much about the internal workings of the valve, so that was reassuring to see. This still needs higher pressure testing to be sure.
- The capacitors handled the voltage of the solar panel without obviously being damaged. Three 5V solar panels produced more voltage than I expected, so I still might add another capacitor for roughly 2.7V more of buffer.
In the field, the base station is standalone, providing a wifi access point that you connect to with a mobile device. The mini dashboard / UI is all hosted from the built-in memory. Stay tuned for a whole post on hosting the UI from an embedded device and the development workflow of that.

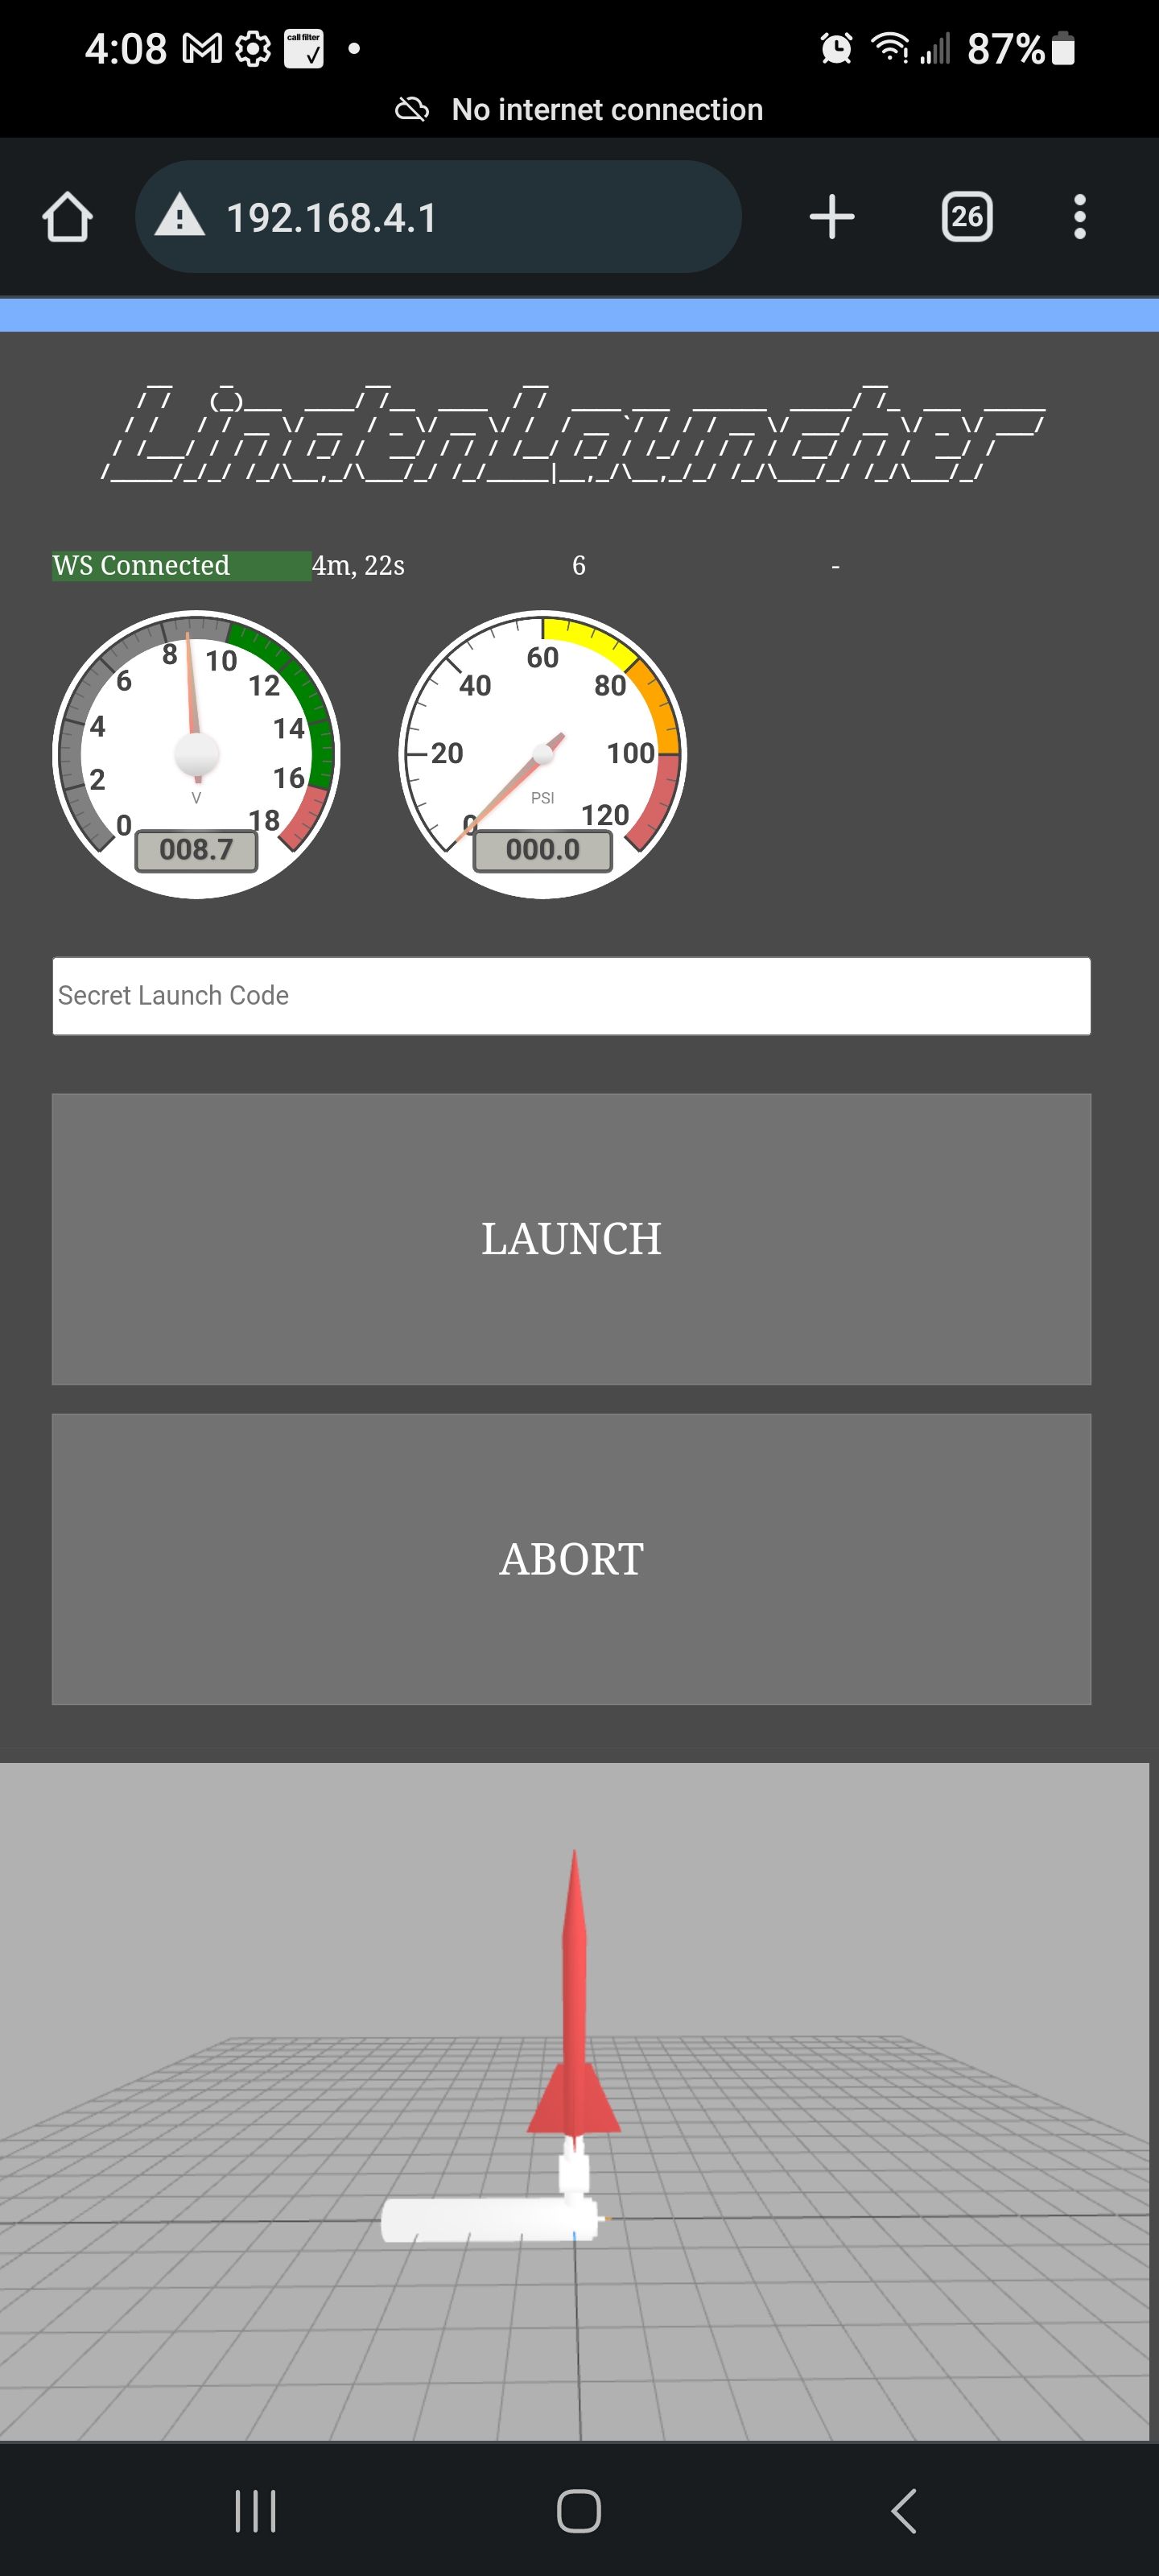
These are screenshots from my phone which shows the ( beta! ) user interface. This first one was while the solar cells were charging up the capacitors. The second gauge is supposed to be pressure but I don't have that sensor connected yet. Those other numbers are the server's reported uptime and the websocket heartbeat timer.

The visualization is not incredibly useful, but the rocket does turn blue once the secret code has been typed in and you're armed for launch.

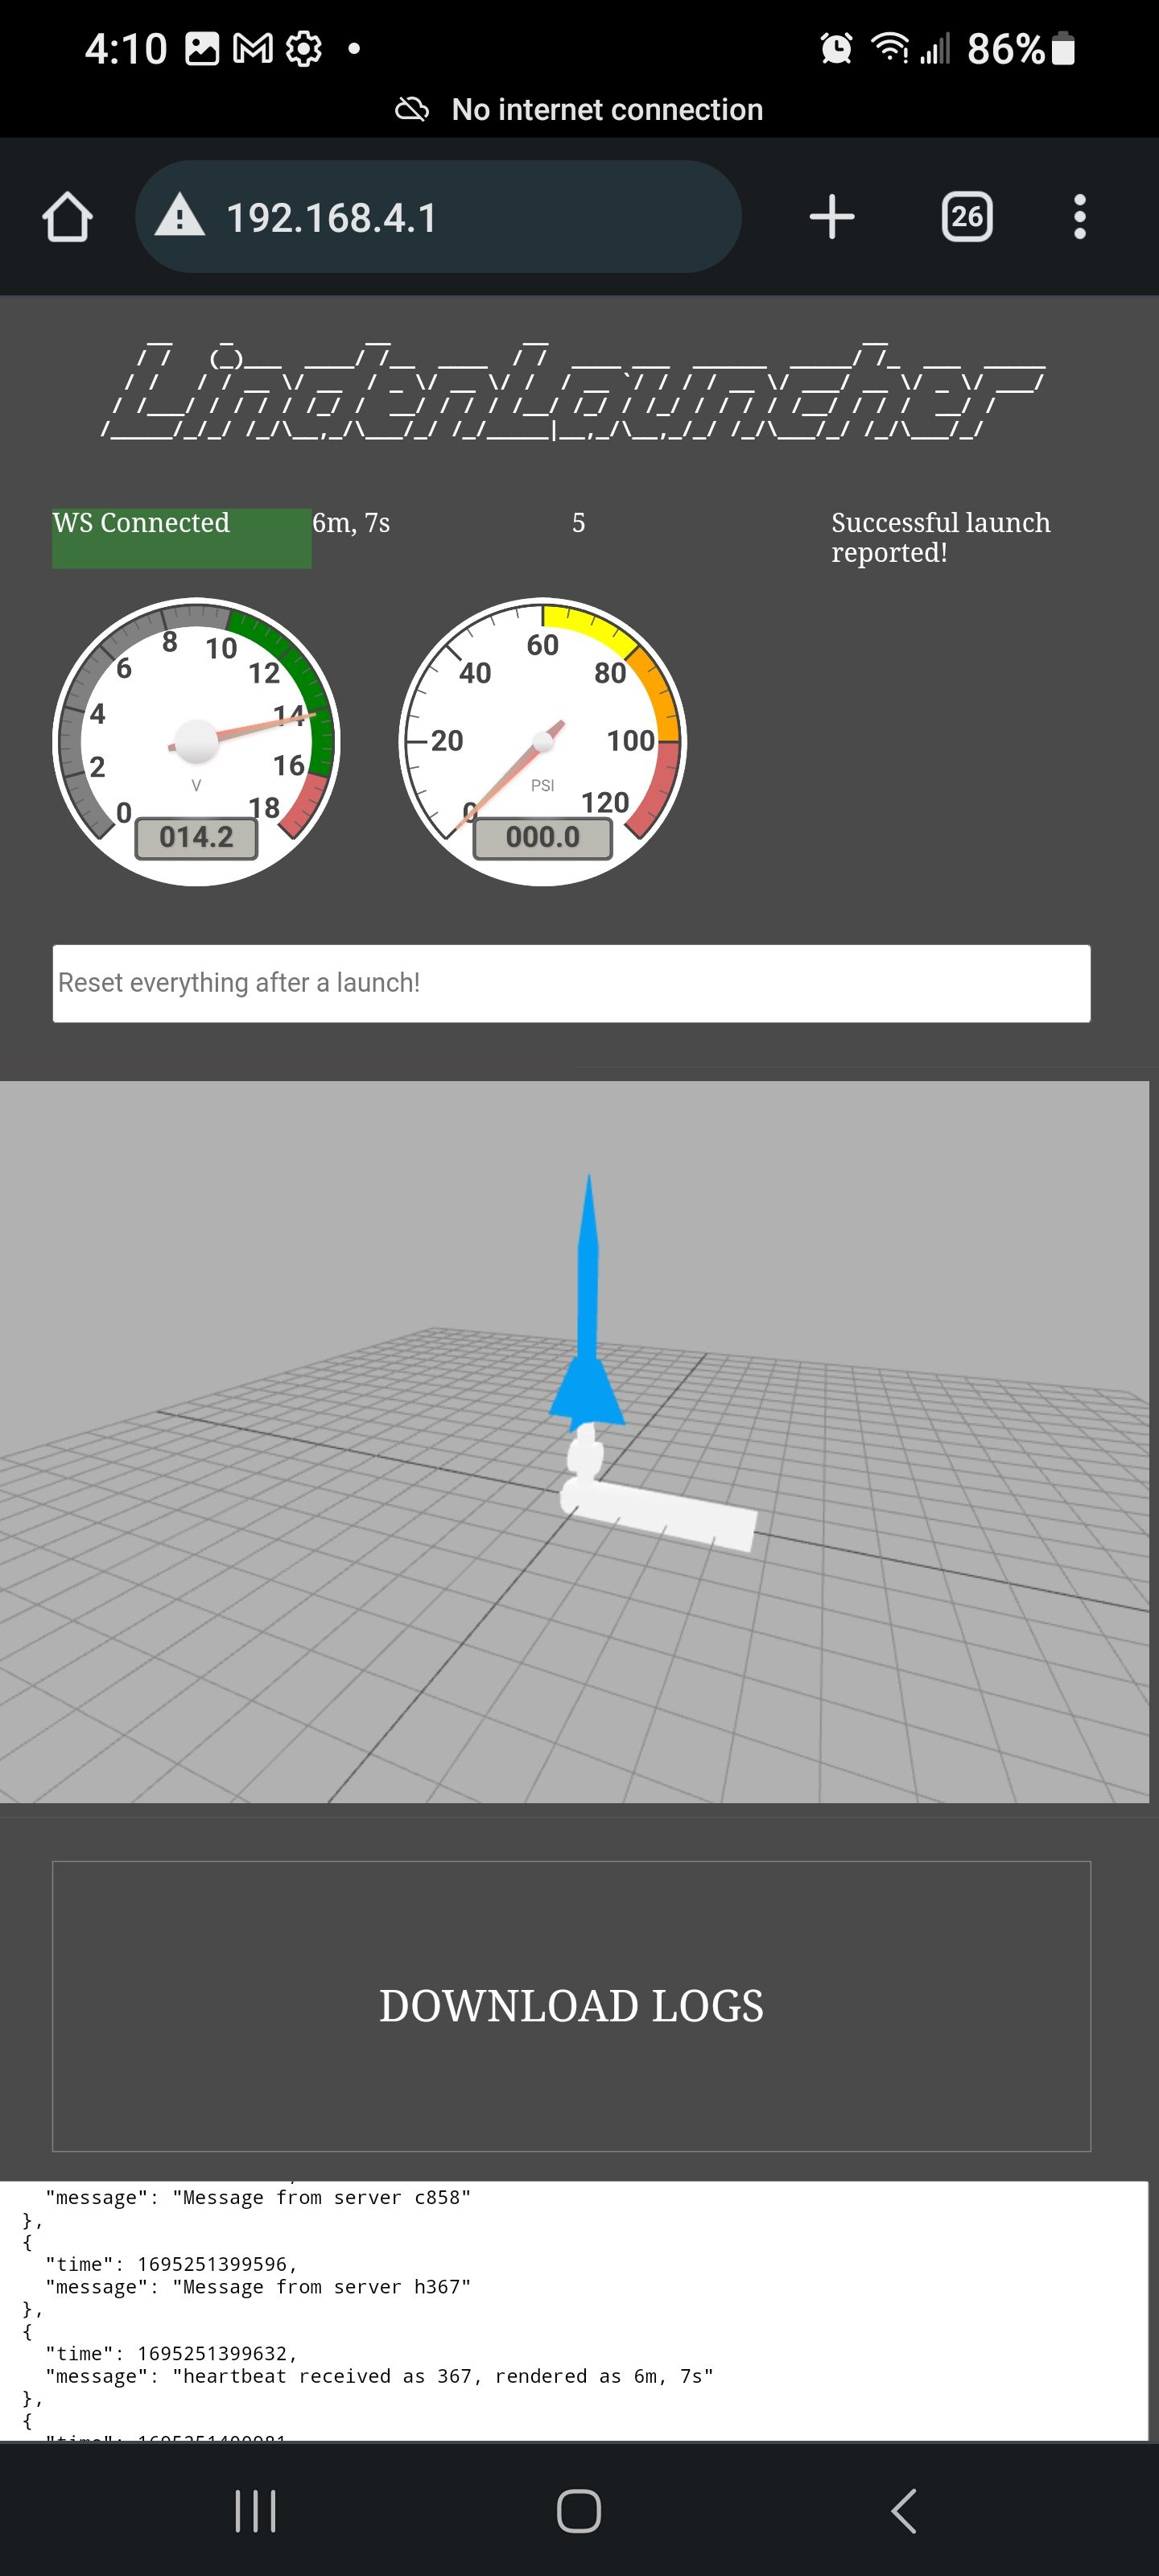
This is after a launch. The buttons are removed and you pretty much have to start again at this point.

The "logs" are an in-browser history of the chatter between the client and the server. I made it easy to download as a file because it seemed like the easiest way to make it available. It might be useful for troubleshooting or for its timestamps.
The next challenge is figuring out how to connect the pressure sensor. I hadn't realized that it was an analog sensor and that I would already be using this ESP's only built-in ADC to read the voltage of the capacitor bank. How am I going to read an additional analog value?
