For several years I've watched the progress of 3D printers from the sidelines the same way that I think about Roombas: soon they should be much better and cheaper. I also feared that there could be a time-consuming learning curve which also kept me from buying a printer.
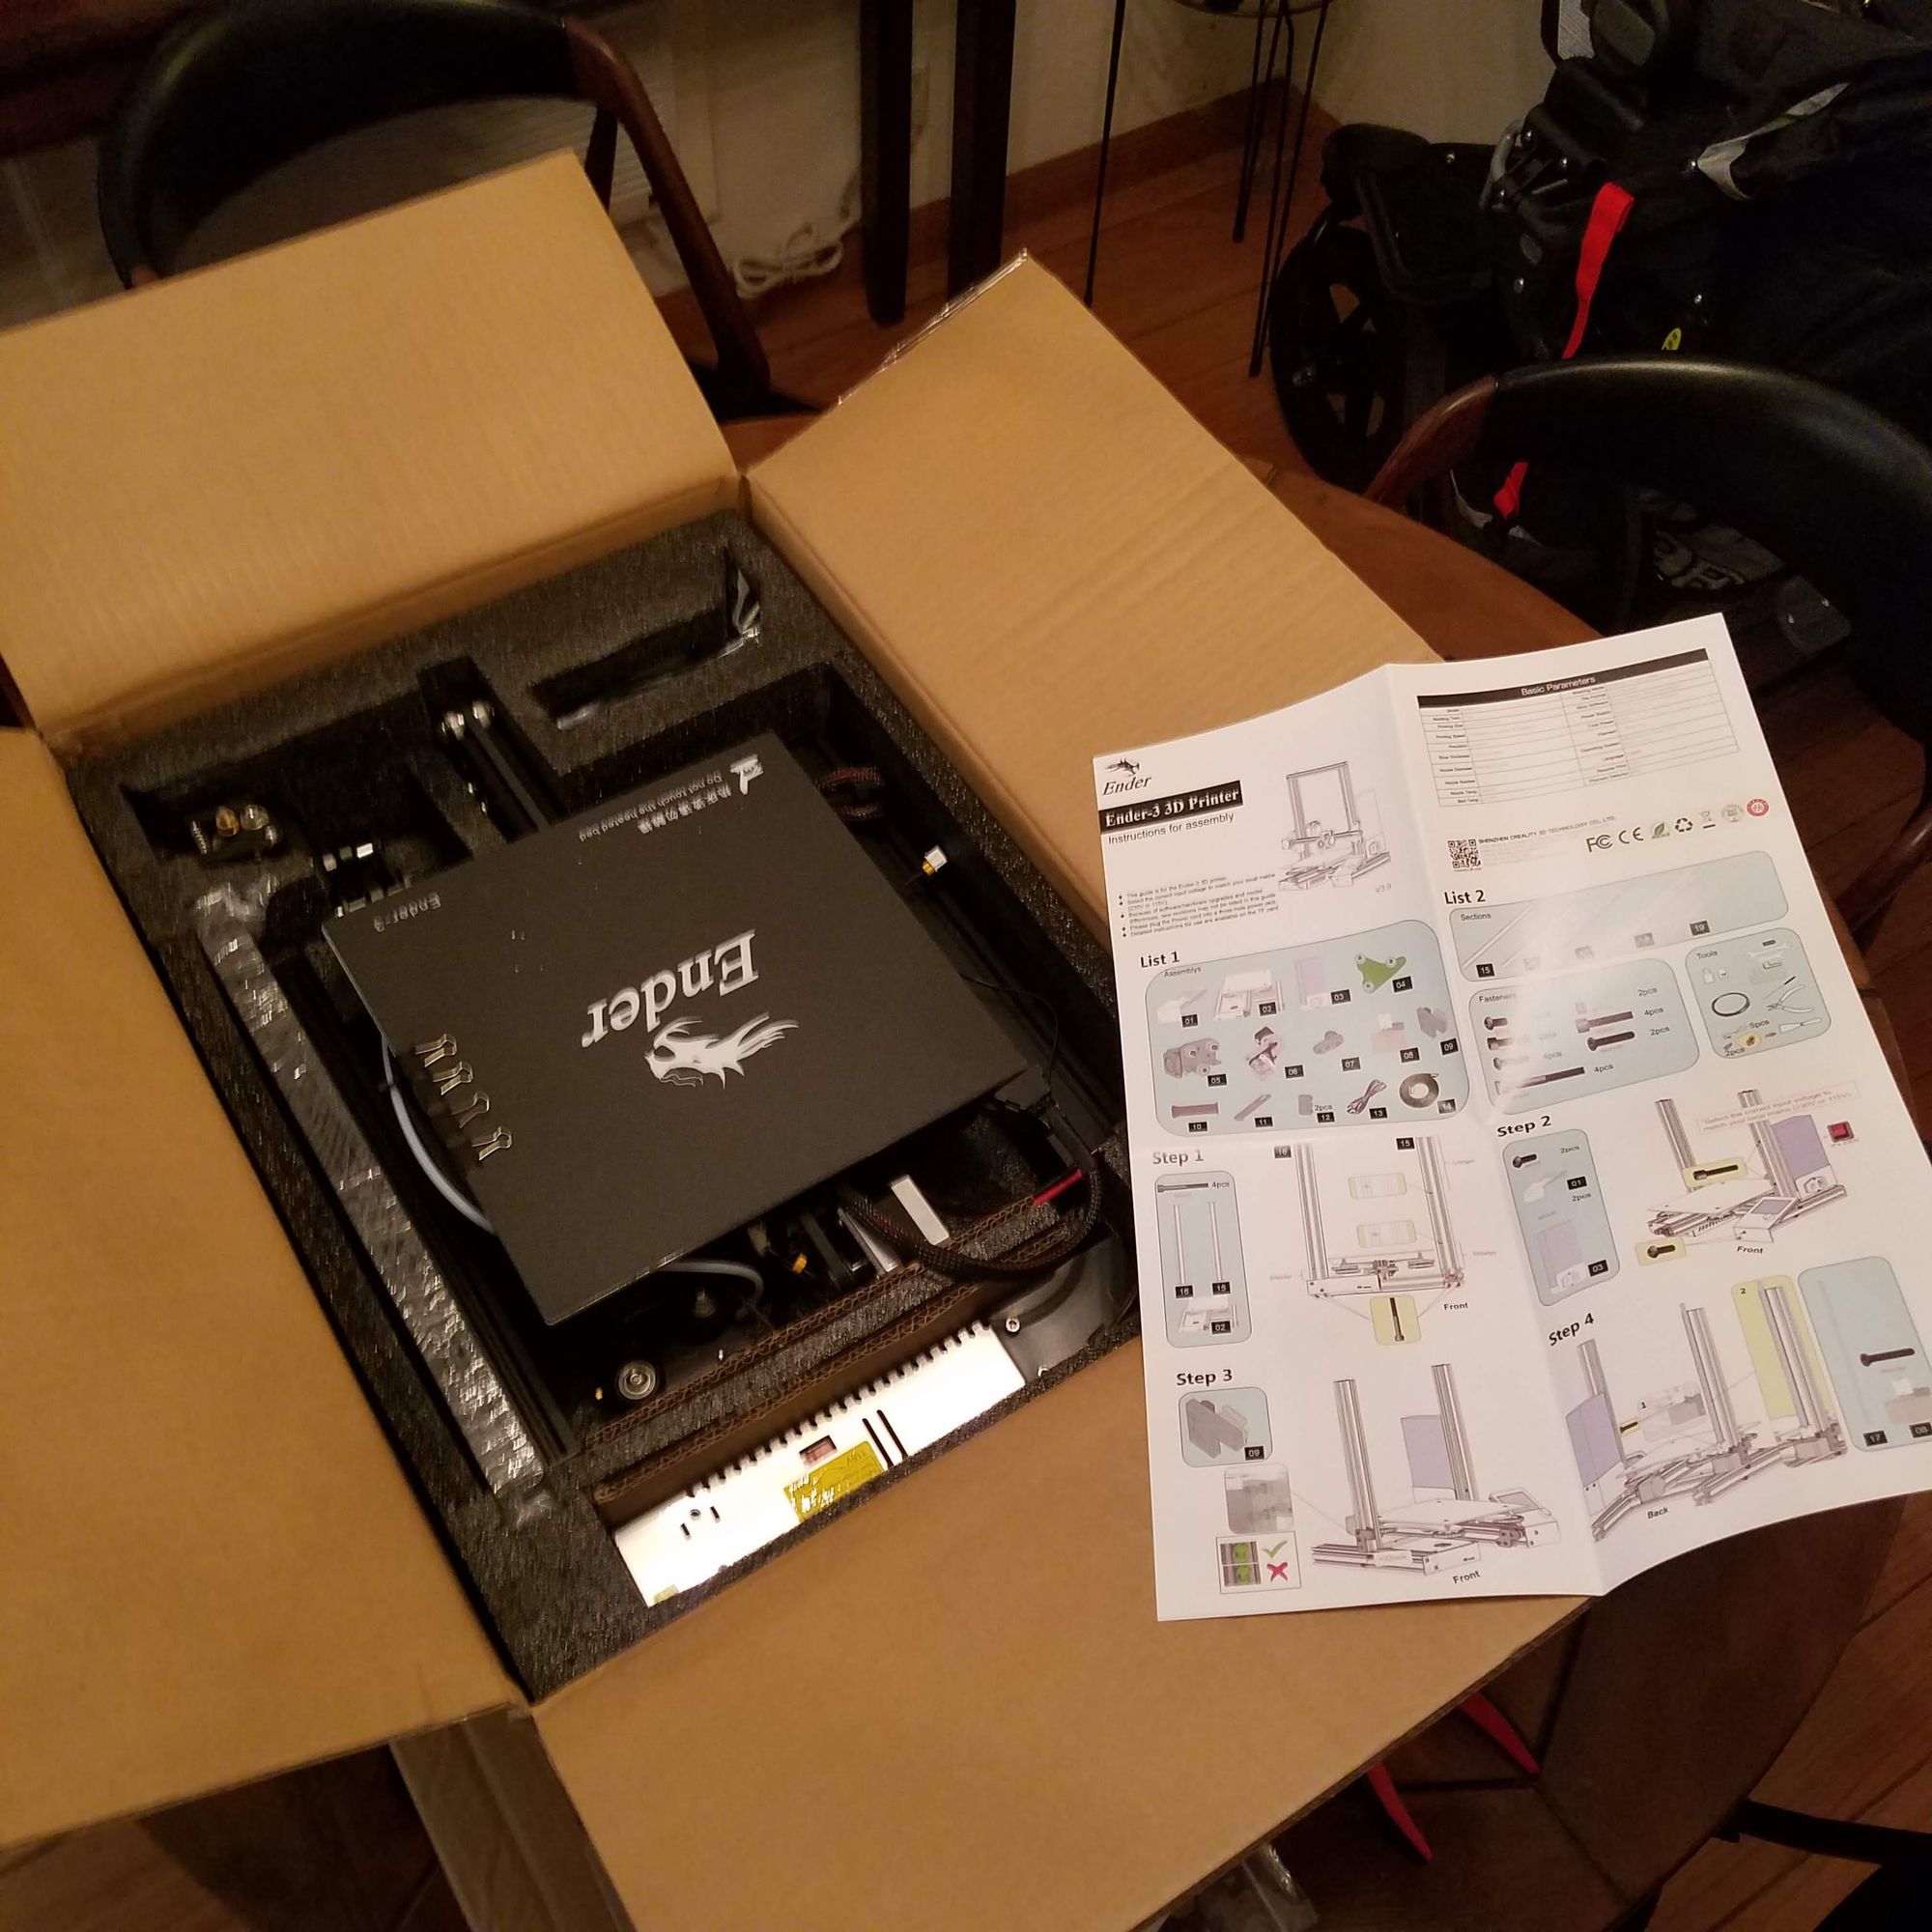
When my son was born I thought it was as good of a time as any to take the plunge. I figured that between baby duties it would be fun to tinker with. It turned out that being up at all random hours of the day and night with the baby worked out well for being able to check and cycle my 3D prints.
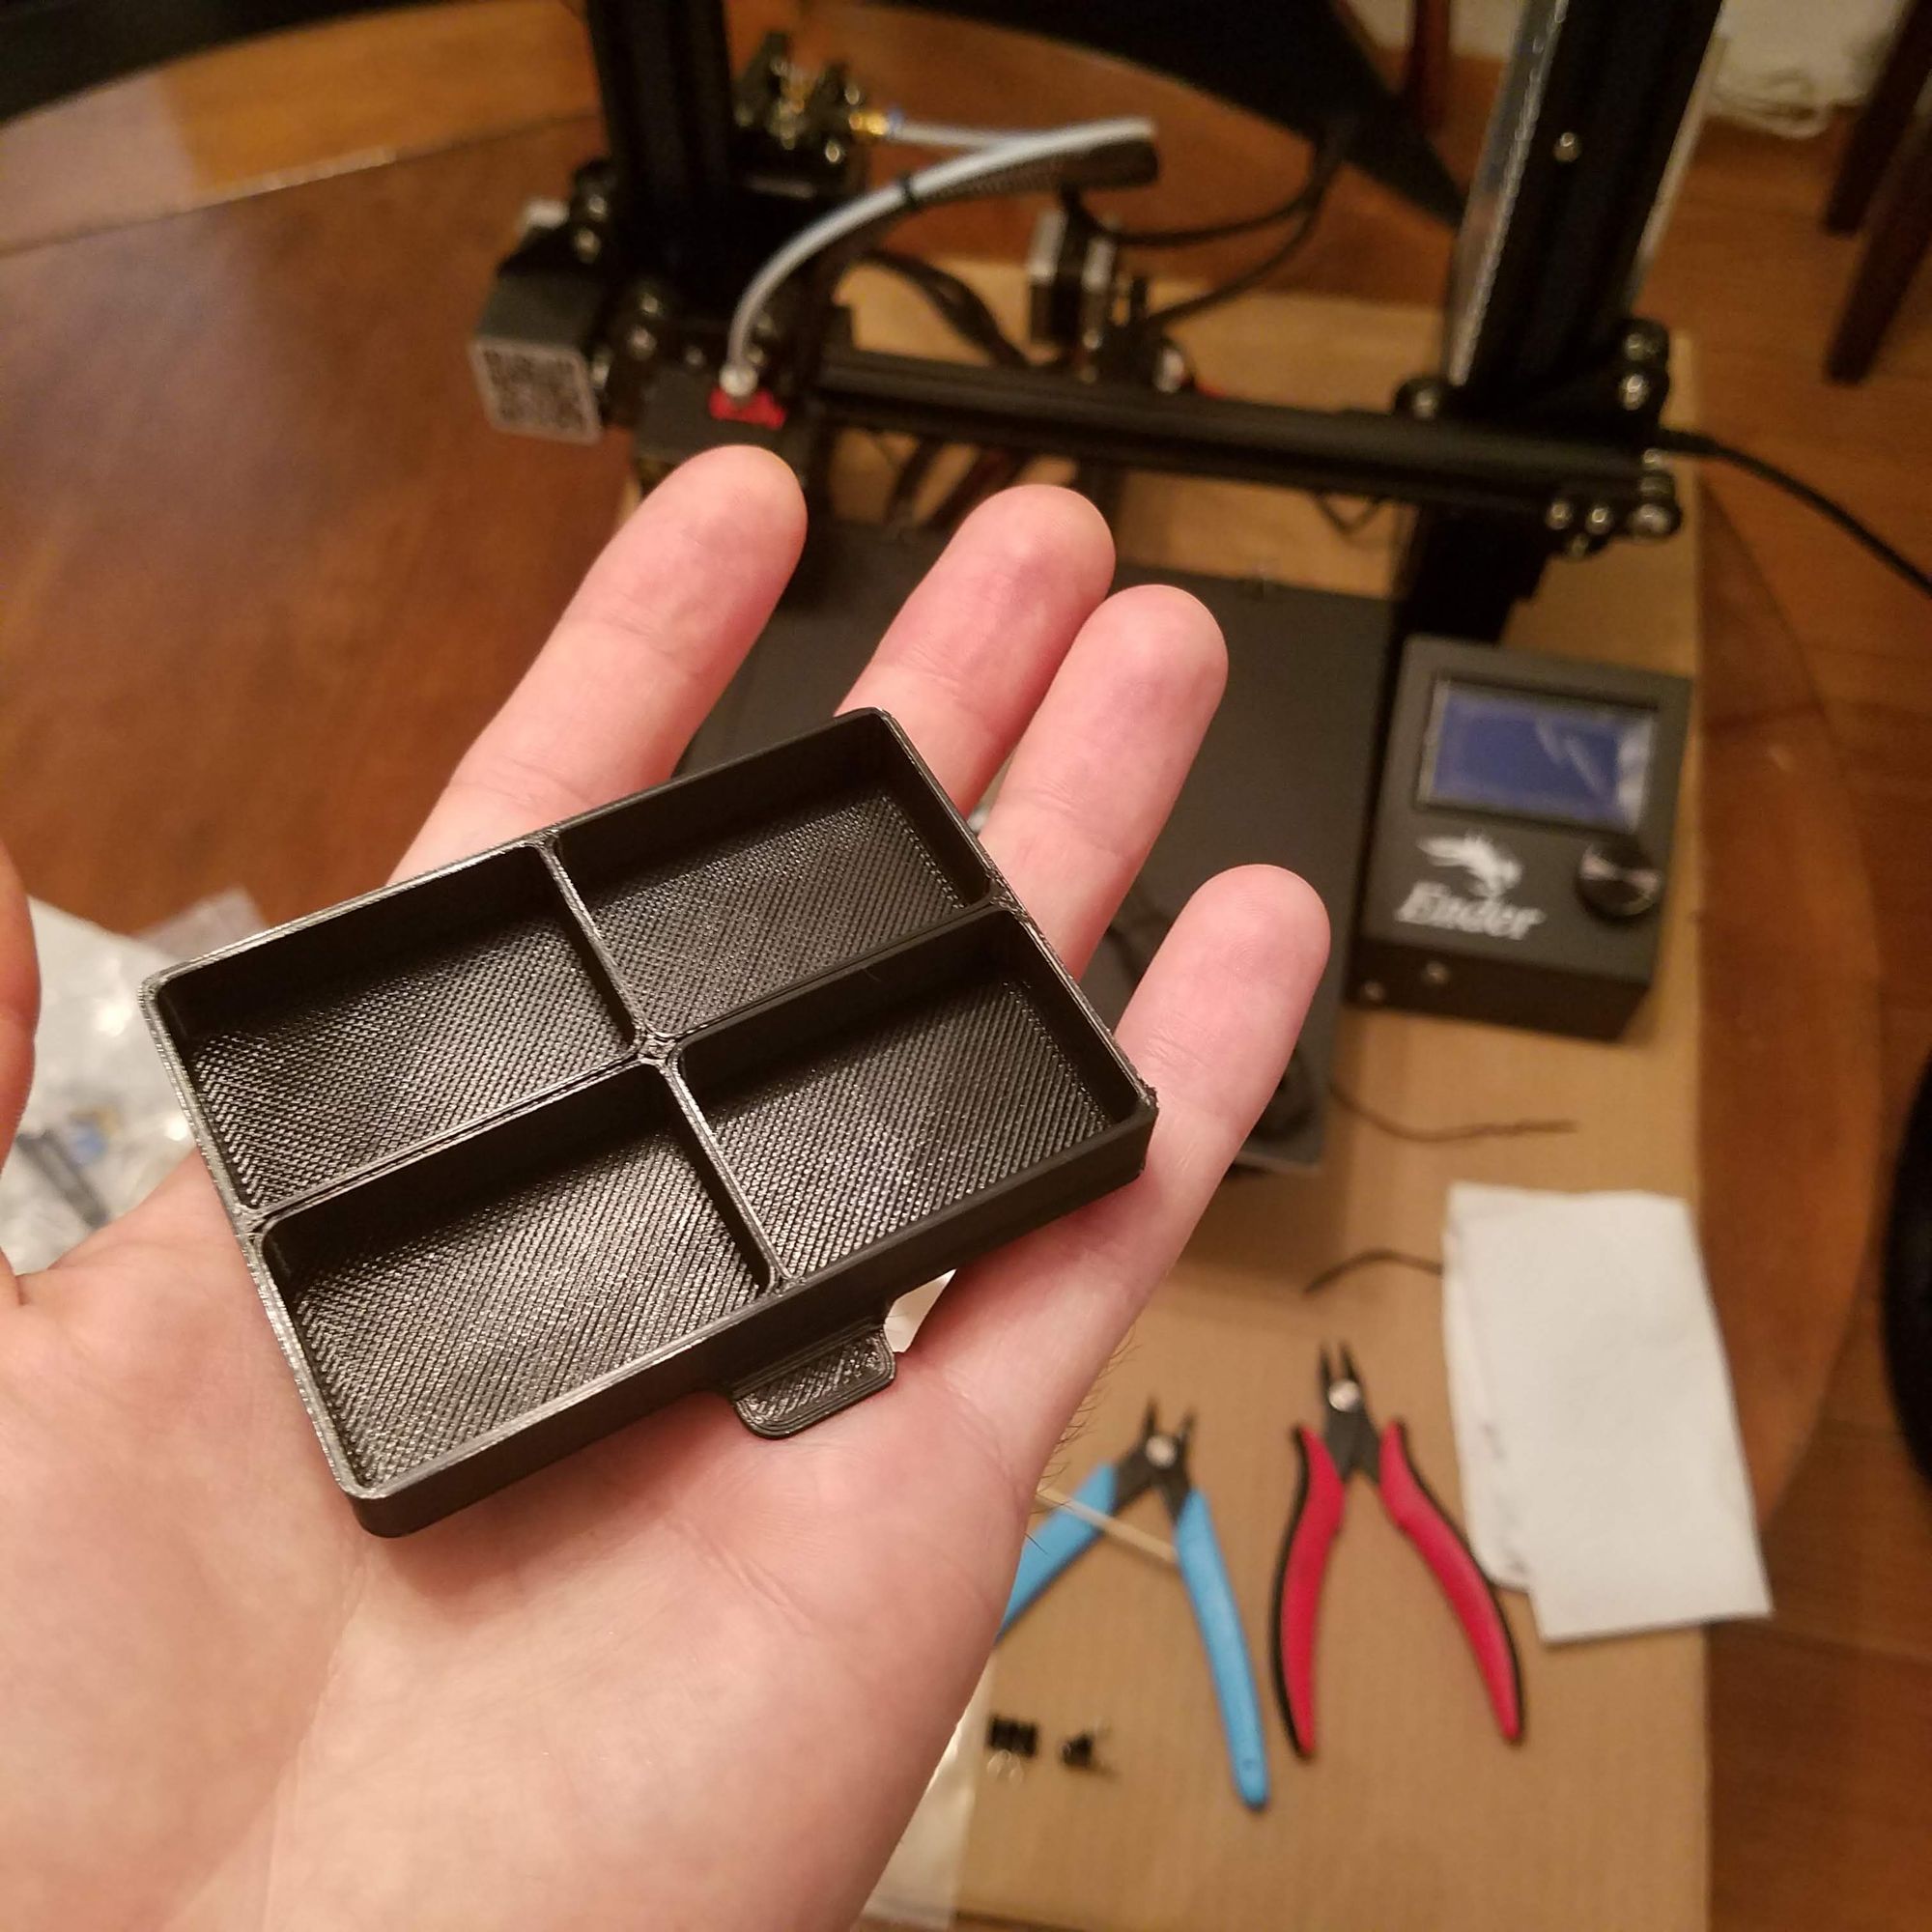
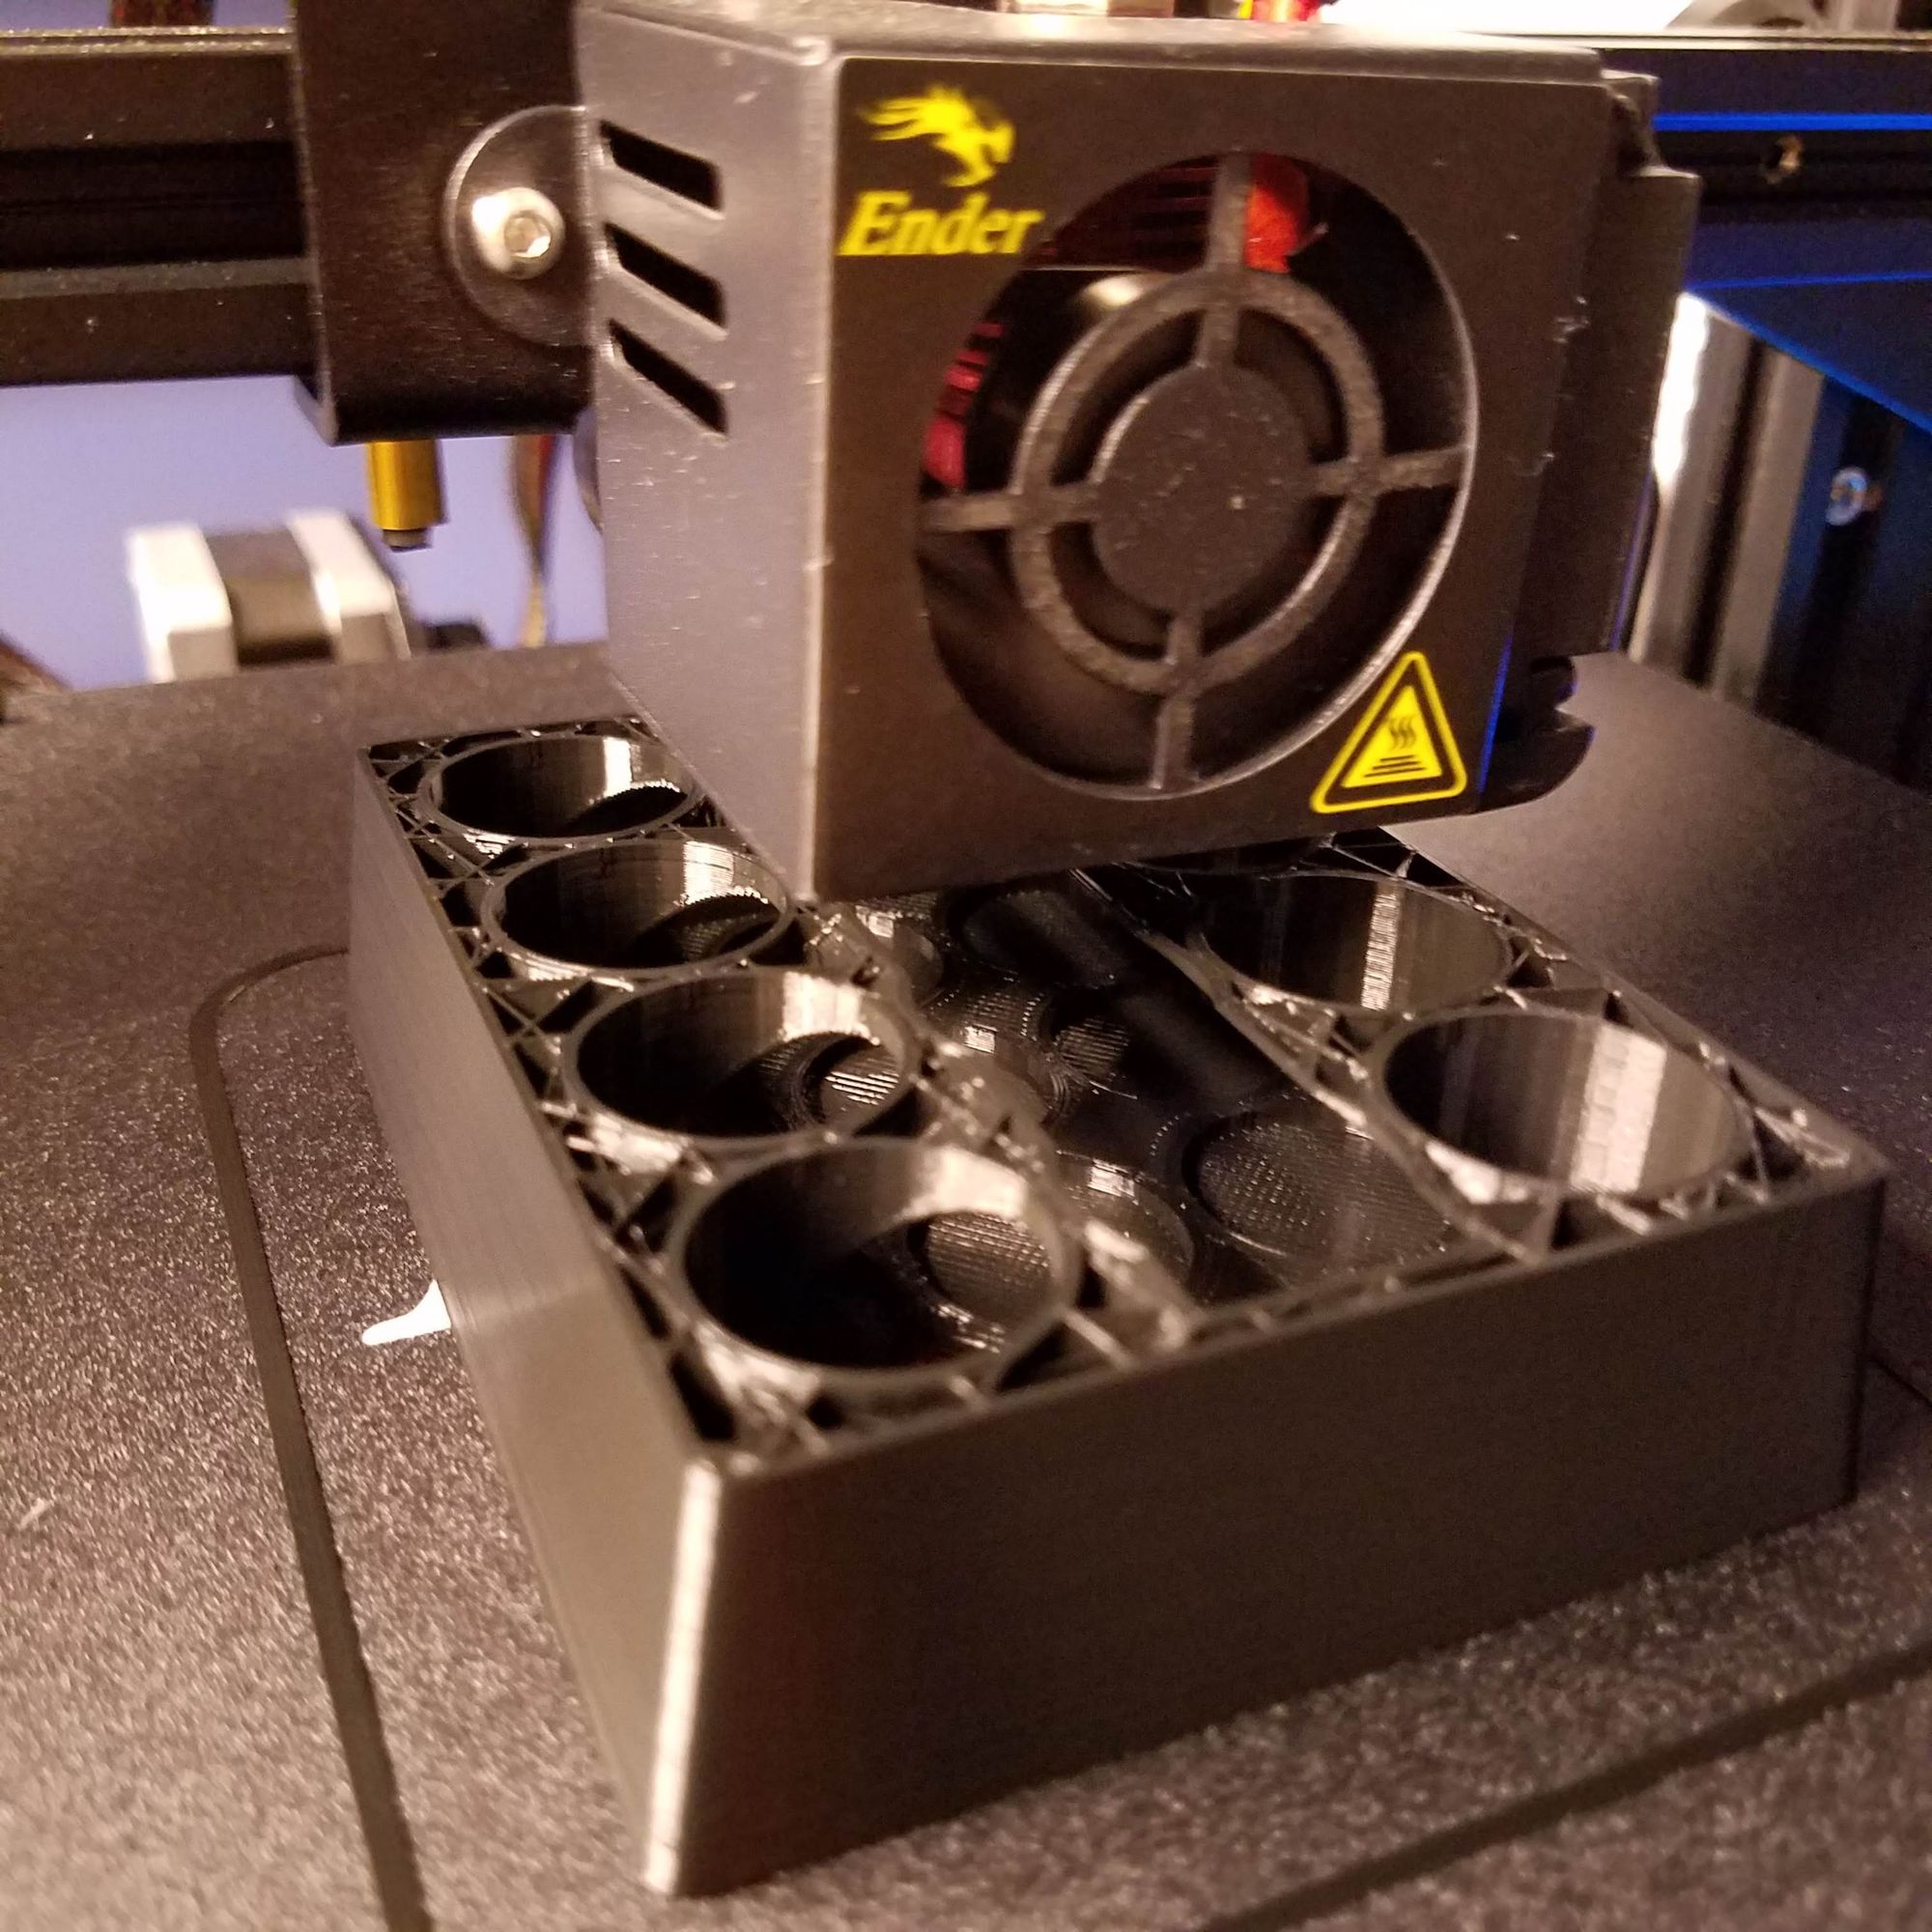
From what I can tell I was right, the printers and tools available have improved greatly over the past few years. I can say this confidently as a dude that spent about $200 on a printer, built it in about an hour, downloaded a model from thingiverse, sliced it with an open source program, loaded up some PLA and printed a real 3D object! To bend down and squint at that tiny nozzle building up your print layer by layer is a magical thing. To snap it off the platform at the end and turn it over in your hands is even better.
What Workflow?
I'll admit, I glossed over a few things there. Getting up to the point of making a first print required learning the 3D printing workflow. There are multiple stages to the process that each involve different software tools and deal in different file formats. At first this can seem pretty overwhelming. Like many subjects I learned first what satisfied my curiosity the most - which is to say it was non-sequential.
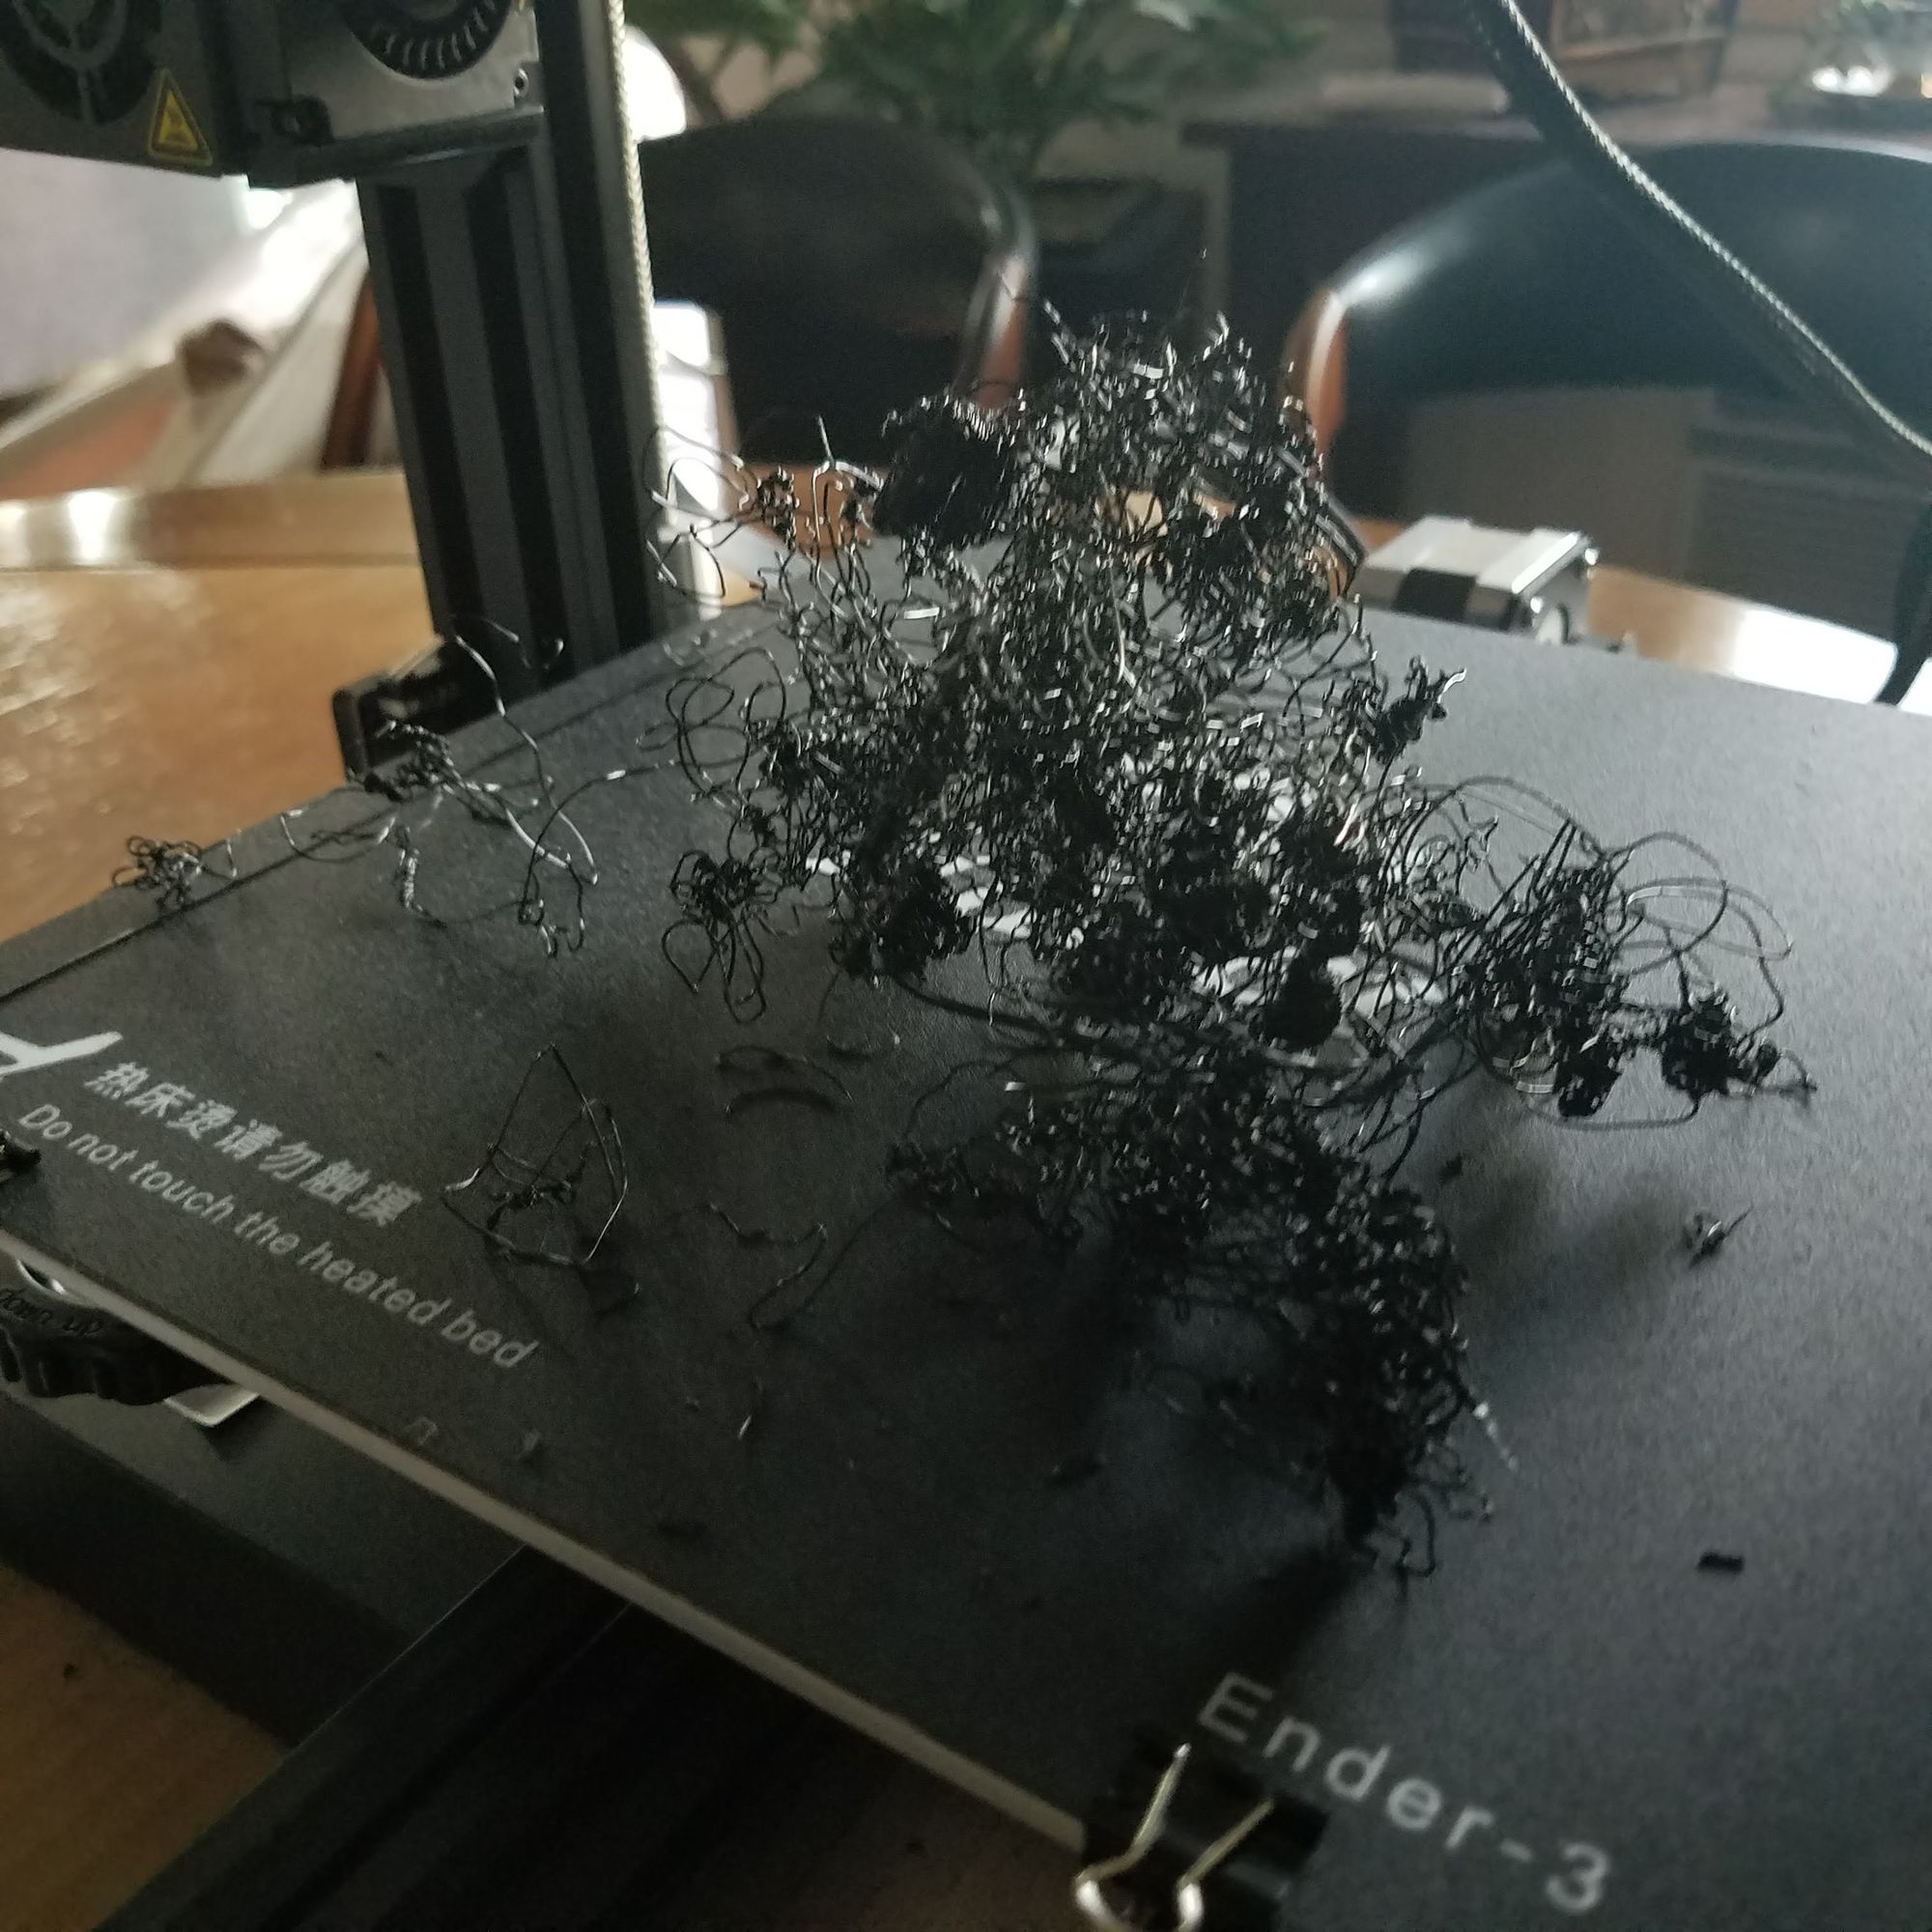
The rest of this post will attempt to describe the major steps of 3D printing, (logically) from conception to print. Hopefully this will make it more clear in which phases of the process certain decisions are made. This knowledge also helps with troubleshooting. Solving a problem with a print usually means re-visiting one of the steps in the process and working back to another iteration of a printable file.
So here are the stages which I've entirely made up myself:
3D Printing Workflow Stages
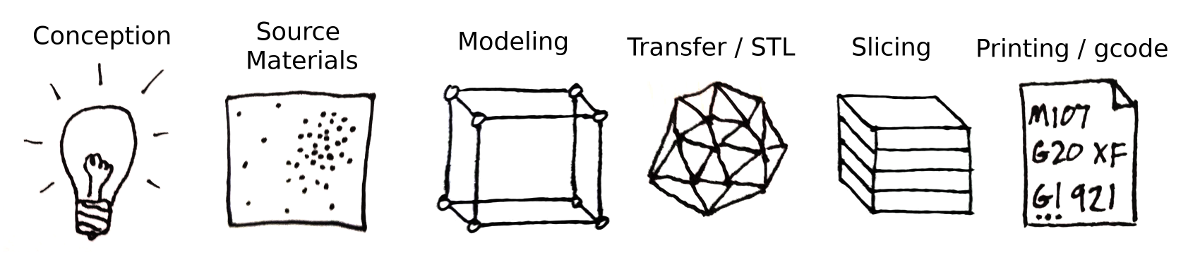
Conception
I feel that this should get a mention. Not much to say. Ideas come from somewhere.
Source Material
This can be in the form of a 3D scan, CAD or other specified dimensions, or even just sketches. This format of the data is far from being 3D-printable, but will be used to build the next stage.
The point is that there is a file format involved here, especially with 3D scans. These files should be retained in source control alongside the rest of the files for their project.
Modeling
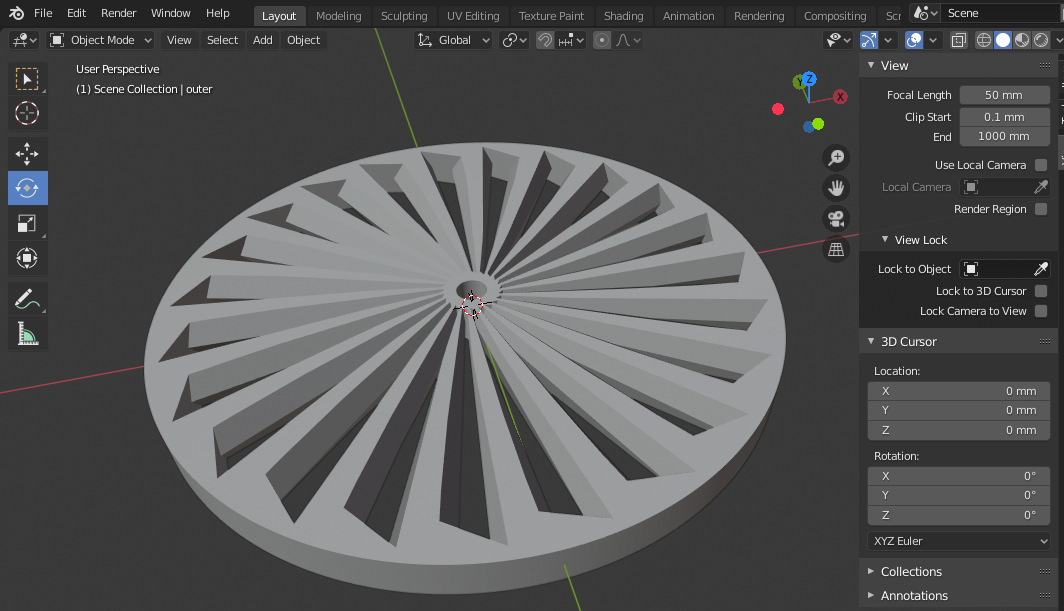
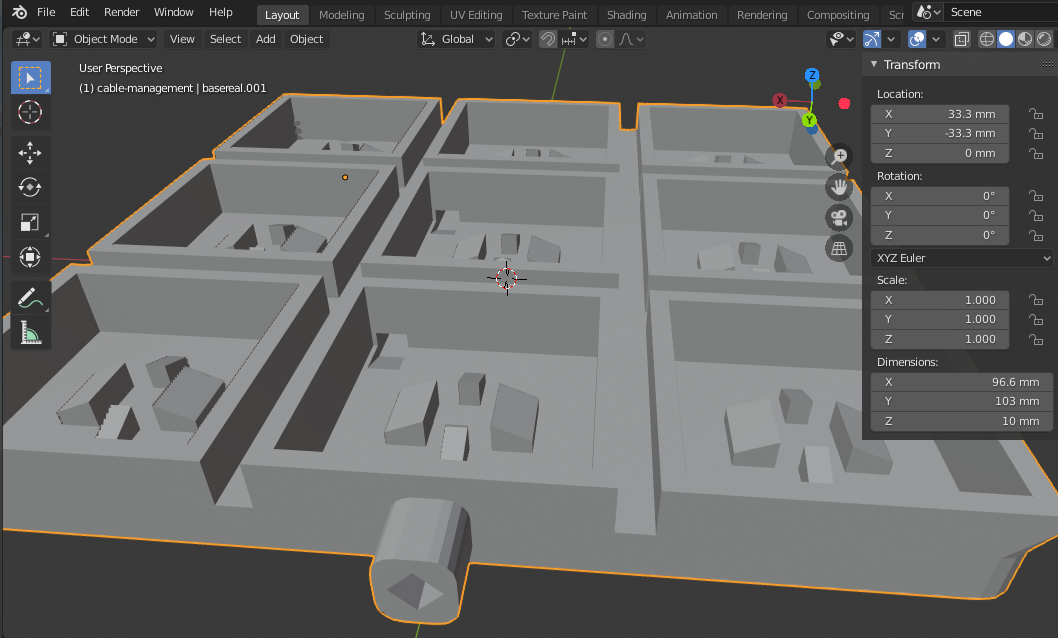
Most of the time consuming and creative work happens in this stage. Source material is translated into it's ideal form, called the 'model', using one of the many popular 3D modeling softwares available. I'm a Blenderhead myself, meaning that I wind up with lots of .blend files in my projects. Maya or 3DS Max users with have alternative formats for their 3D model files.
This is probably the most important of all the project's files to retain in source control and commit often! The process of modeling is one that can quickly go off the rails so it's best to have as many restore points as possible. I like to fork my model file periodically, and before pursuing any major changes that I might want walk back. The alternative to this approach is keeping a bunch of duplicate/backup/rendition hidden in your model file. Either approach can get messy but anything beats rework, amiright?
A quick note on using source control: Git is not going to be able to show you diffs of these files. Versions would have to be visually diffed manually or using other tools. Github has a feature that will show STL diffs, and there are plenty of libraries for this available.
Transfer / STL
At the end of the modeling process the model needs to be converted into a format that can be handled by the slicer. The slicer doesn't read .blend files or 3ds files or care about all the extra metadata they contain. This is where the STL intermediate format comes into play. STL stands for stereolithography - it's one of those things that was invented for a specific reason and is now used for all kinds of things.
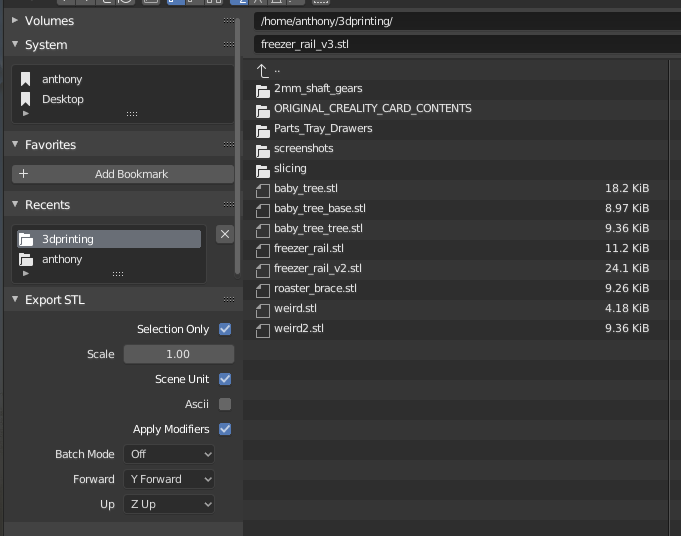
It seems like just a common transfer format, but it deserves to be mentioned as a stage in the process because some decisions are made when exporting to STL. The model's orientation, and most importantly, it's units, are stored in the STL file. Otherwise it's a ton of little triangles that describe the exterior surface of your perfectly water-tight model.
Slicing
Slicing is the process of breaking the STL file down into 2-dimensional 'slices' which will be deposited consecutively by the printer. ( Regardless of your choice of slicer, it is a safe guess to say that it can import STL. I'm using Cura and have been happy. )
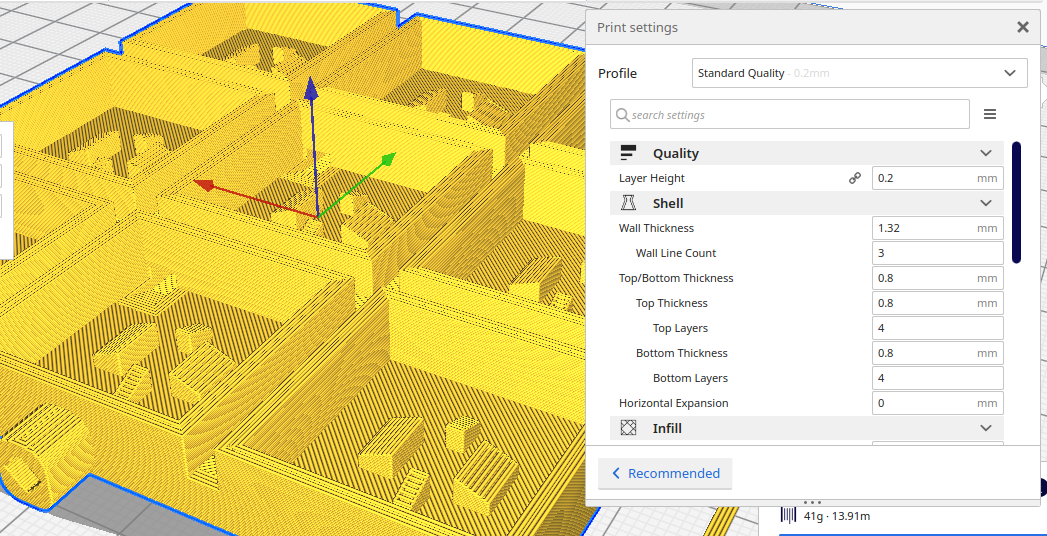
A lot of creative decisions are made during slicing like nozzle temp, feed rate, retraction, wall thickness, and all the wonderful ways to print infill. Different software has slightly different features but they all have these basics.
Important to note here that the slicer is capable of scaling the model which affect's it's printed dimensions. I try to avoid this and just get the dimensions correct in the model.
Saving this step in the process is CRITICAL for the preservation of all the settings I just mentioned. Your print will turn out significantly different if you come back and try to guess at the values you used the last time. This is also the hardest one for me to remember to save because I'm usually excited to go start my print. Commit this file to source control along with your others.
The final step with the slicer is to export a .gcode file.
Printing / Gcode
OK this one is really just a format for translating the machine instructions to the printer to do the physical printing. Things like how hot to run the nozzle, how fast ( and when ) to feed the filament, where to move the nozzle, etc. It's somewhat more readable than the assembly language produced by C++, but still basically worthless to human eyeballs.
Here's an annotated example courtesy of [credit]
G28 ; Home all axis
G1 Z15.0 F6000 ; Move up 15mm at 6000mm/min (note: more than the max speed set in the printer firmware)
G92 E0 ; Reset extruder length to zero
G1 F200 E10 ; Extrude 10mm at 200mm/min
G92 E0 ; Reset extruder length to zero
...
This is the file that the printer reads, from an SD card or another interface. Being that it contains the nozzle temperature and speeds, this file should result in reproducible prints in the same machine and using the same ( or comparable ) filament. So this is REALLY the file you want to retain for the highest possible chance at making a reproducible print.

Conclusion
So while this may seem like a lot of file formats, ultimately each only contains the data necessary for the task at hand. Imagine the alternative - 1 file that represented a scan, model, slicer config, sliced rendition and machine code - it's just more than one software interface should take on. Users prefer flexible workflows where tools can be substituted as long as they support common formats.
Here it is all over again, for those who prefer a table
| Stage | File Format | Includes | Excludes | |
|---|---|---|---|---|
| Source Materials | Various Formats | 3D scan formats SVG CAD | Highest resolution data representing the target object May also contain noise/artifacts | |
| Modeling | Various Software, Sometimes more than one software | .blend ( Blender ) .3ds ( 3DSmax ) ? ( Solidworks ) | All geometries that represent the object, Actual units/scale info ( like cm ) surfaces, lighting, camera A time dimensions (animation) | Noise or any unwanted characteristics from source material |
| Transfer | The common bridge between modeling and slicing softwares | STL | Triangles only, Represents the exterior surface of a closed mesh | Surface/Material properties absolute scale data ( retains arbitrary scale information ), Light/camera, anything to do with rendering or animation |
| Slicing | A slicing project file to keep track of all decisions related to the slicing of a print | .3MF ( Cura ) | metadata about printer, material layer height, wall/top/bottom thickness infill type & density extruder & bed temperatures feed speed retraction, z-hop, z-seam placement DOES THIS CONTAIN THE STL ??? | |
| Printing | The machine instructions for the printer | gcode | commands to execute sequentially to produce the print |
I intend to post more about 3D printing, including some specific projects, tips, and maybe some automation of the process described above.